
Third party SAML authentication for AWS Elastisearch clusters
AWS Elasticsearch Service is a quick and easy way to spin up Elasticsearch clusters. Unfortunately, the default authentication for the Kibana visualization plugin is, well, none. If you can access the Kibana dashboard, you’re in! I wanted to make sure that the data in some of our internal AWS Elasticsearch clusters was protected. With everything else consolidating around a SAML SSO identity provider, I was hoping that it would be relatively simple to tie the two things together.
Unfortunately, it wasn’t. The flipside of the ease of deployment & configuration of the AWS Elasticsearch service is that they strictly limit the number of configuration options you might otherwise want to use, most notably there’s no way to use X-Pack which includes a lot of the powerful security options and quick SAML auth for Kibana. Instead, you have only one option for adding authentication; AWS Cognito.
AWS Cognito is AWS’s user management service. It’s incredibly powerful, enabling managing users in Andriod or iOS apps, to adding Google or Facebook as identity providers to a custom webapp, multifactor authentication, authorization for AWS resources, user information tracking, and about a thousand other things. So the flipside is what might normally seem like a straightforward process (Take an app and tie it SAML auth) can become more cumbersome and confusing. It’s may be the world’s largest identity Swiss Army Knife, but I just want to use one thing!

*Now where on earth are those tweezers?*
When I was trying to set this up myself, there’s at least 3 different places I found that you can add SAML information and it took a combination of brute force reading lots of documentation and trial and error to figure out the right way to put all the parts together. This blog post is what I hoped to find when I was trying to do this. Hopefully it can save someone else some time and pain.
As a high level overview, the parts that we need to put this together are:
- An AWS Congito User Pool. This is the collection of users that can log in, and outlines the mechanism of how they will login
- An AWS Identity Pool. This sets the IAM roles that should be given to people who successfully log in via the User Pool
- IAM restrictions on the resource. This should limit access or functionality to the IAM roles assigned in the identity pool
- An identity provider to do the actual work of authentication. I’ll be using Okta here.
Create a Cognito User Pool
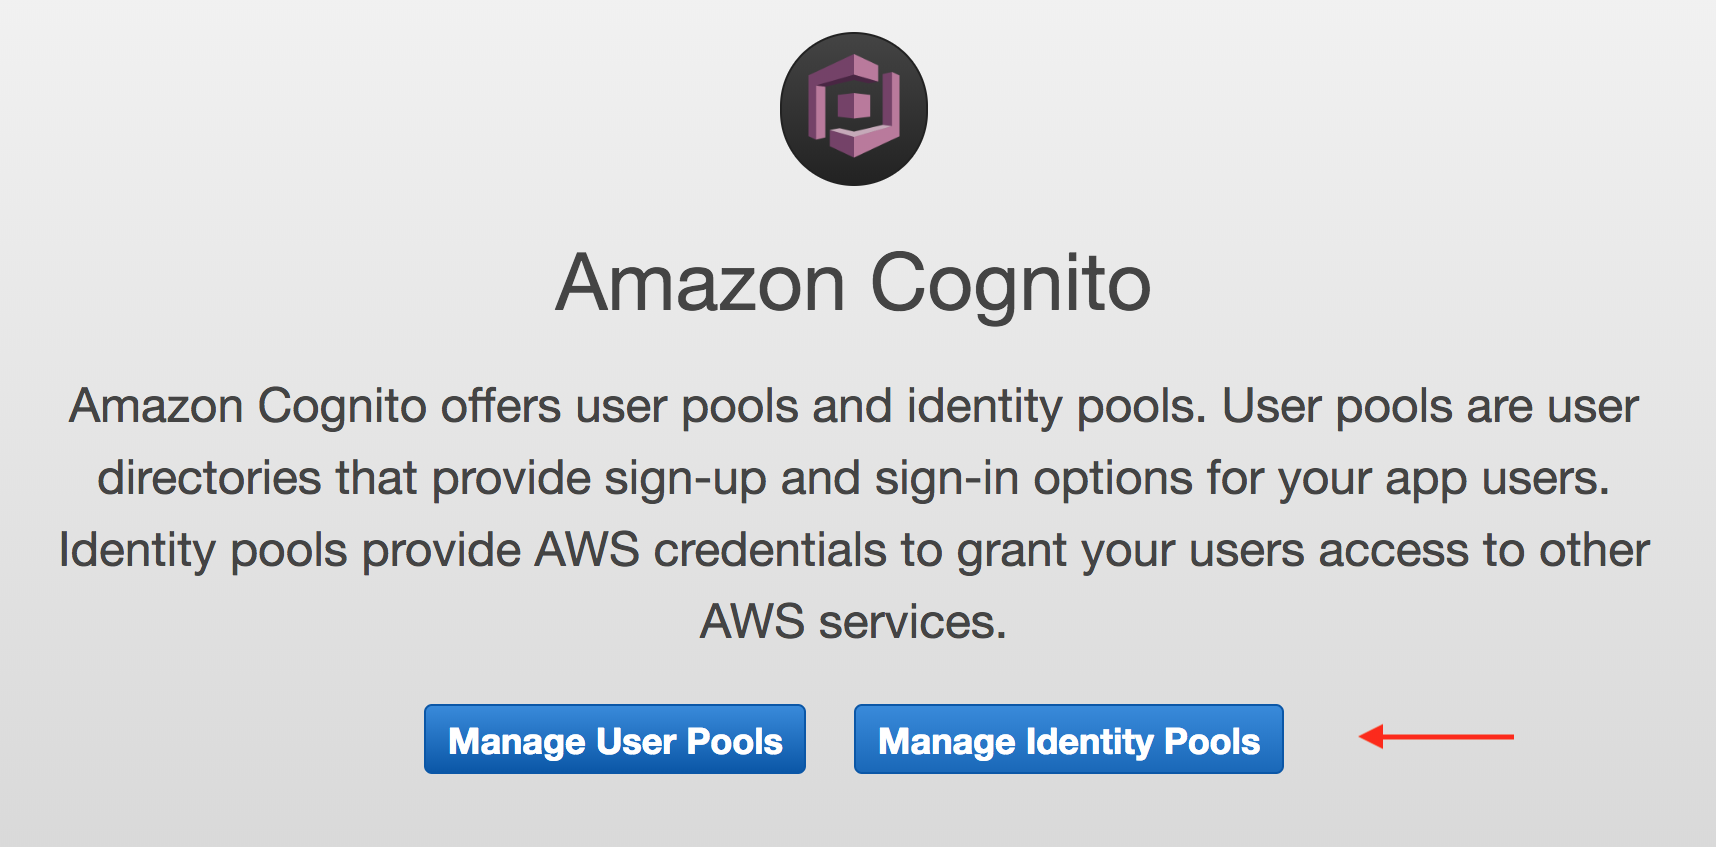
We’ll start with logging in to the AWS Console and making a Cognito User Pool. Go to Cognito and click on “Manage User Pools”
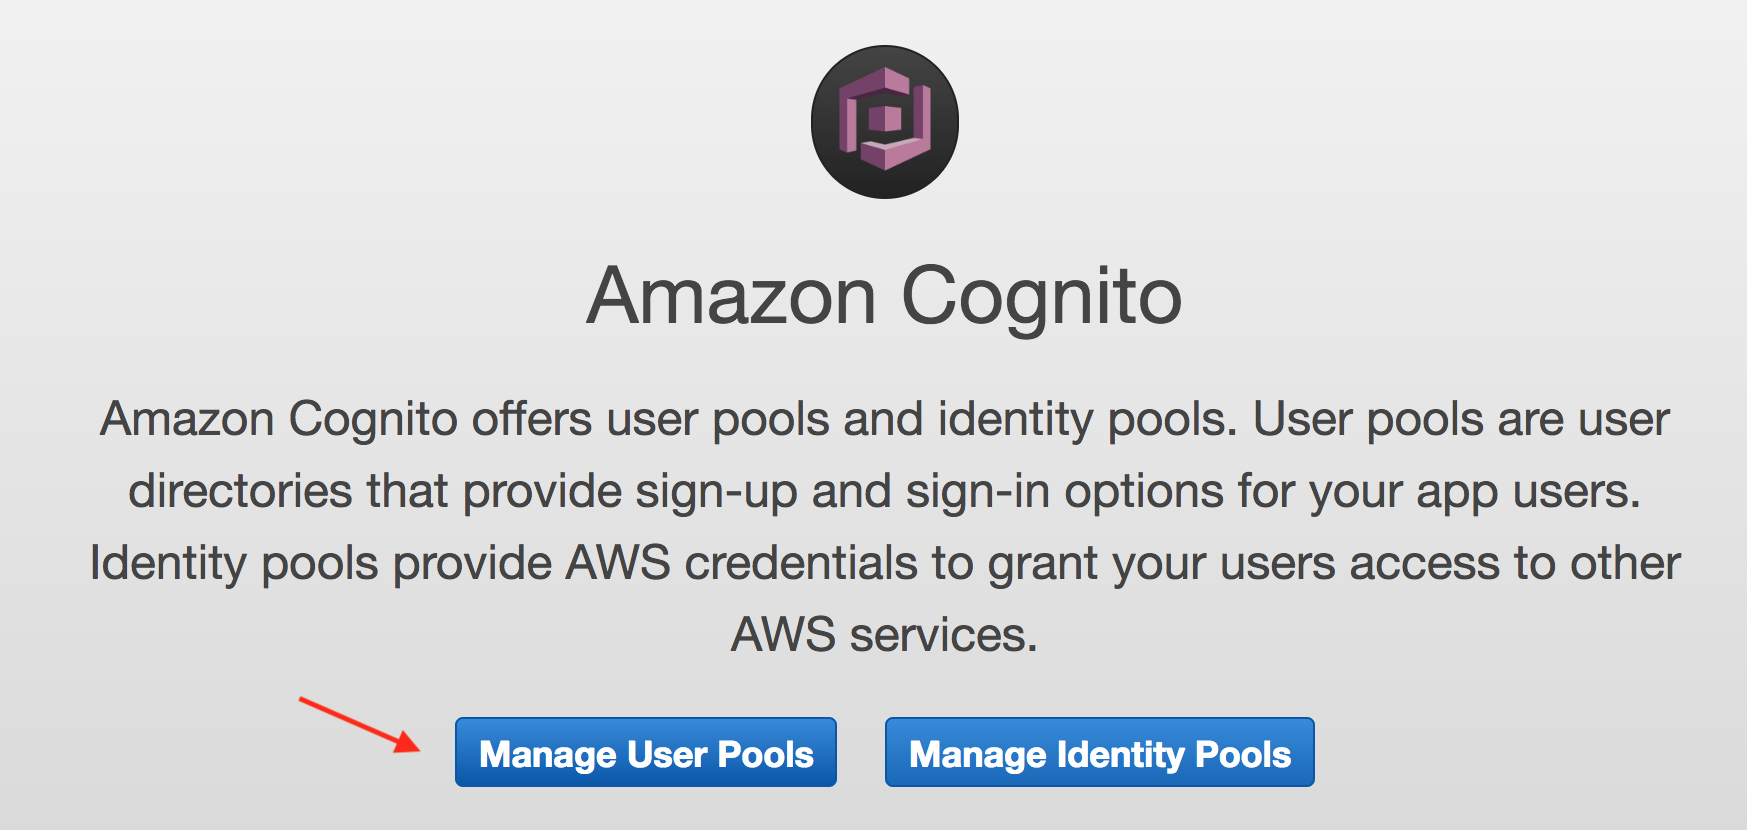
Hit “create user pool” in the upper right corner

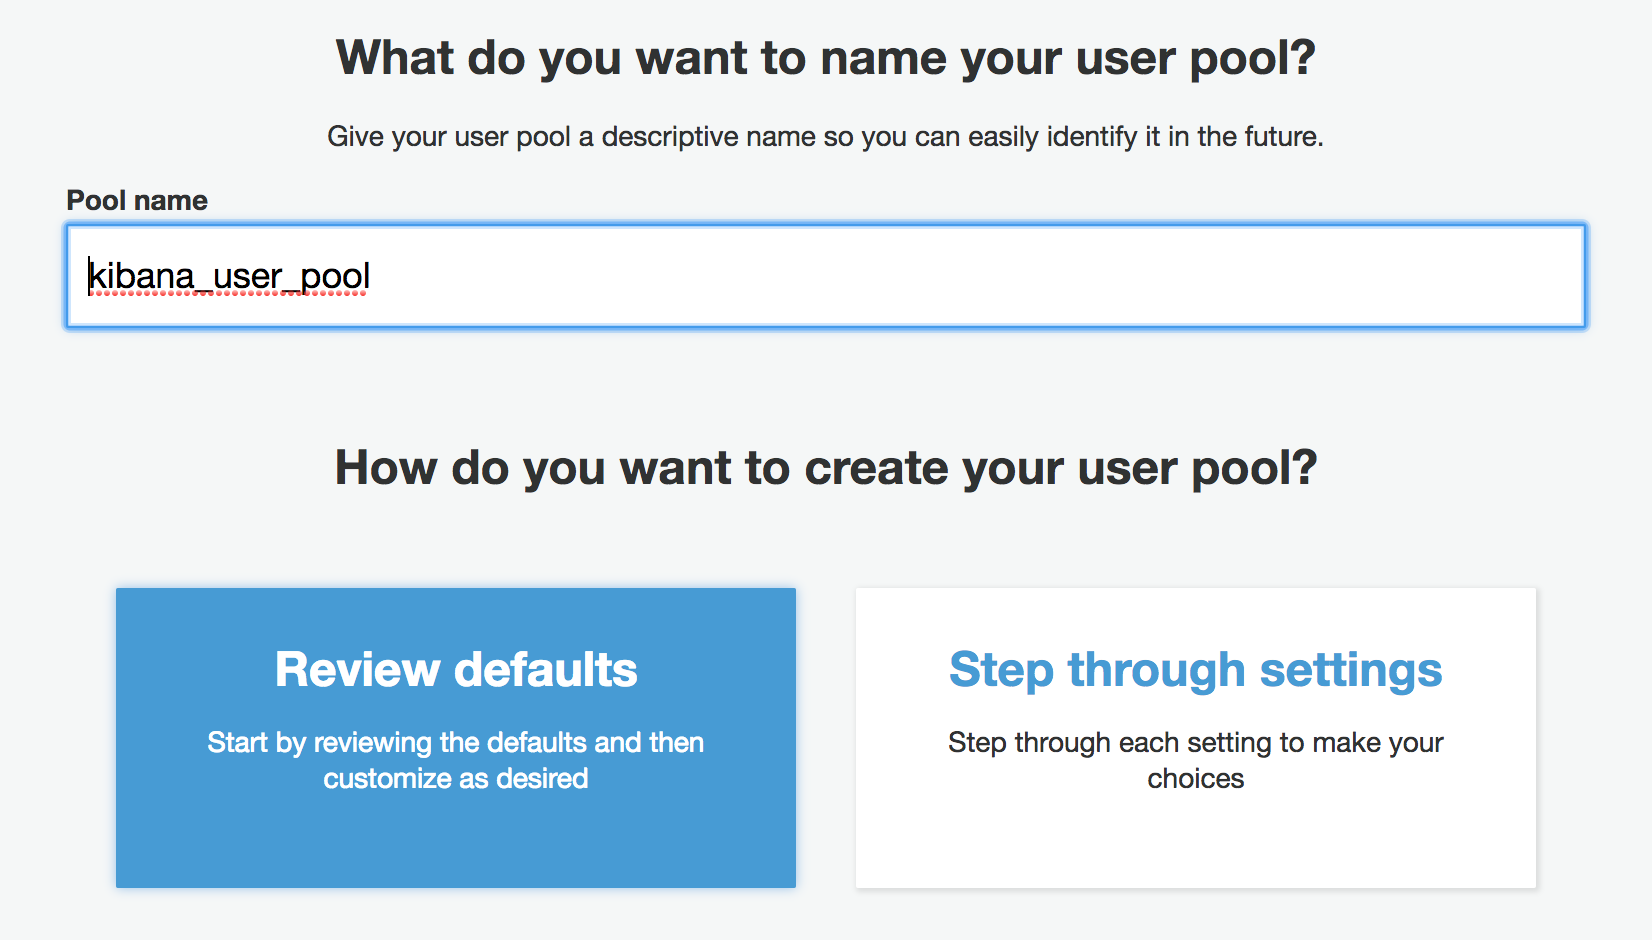
From there, name your User Pool to be whatever you want and click “review defaults” There’s a few items that we’ll want to change from the default settings.
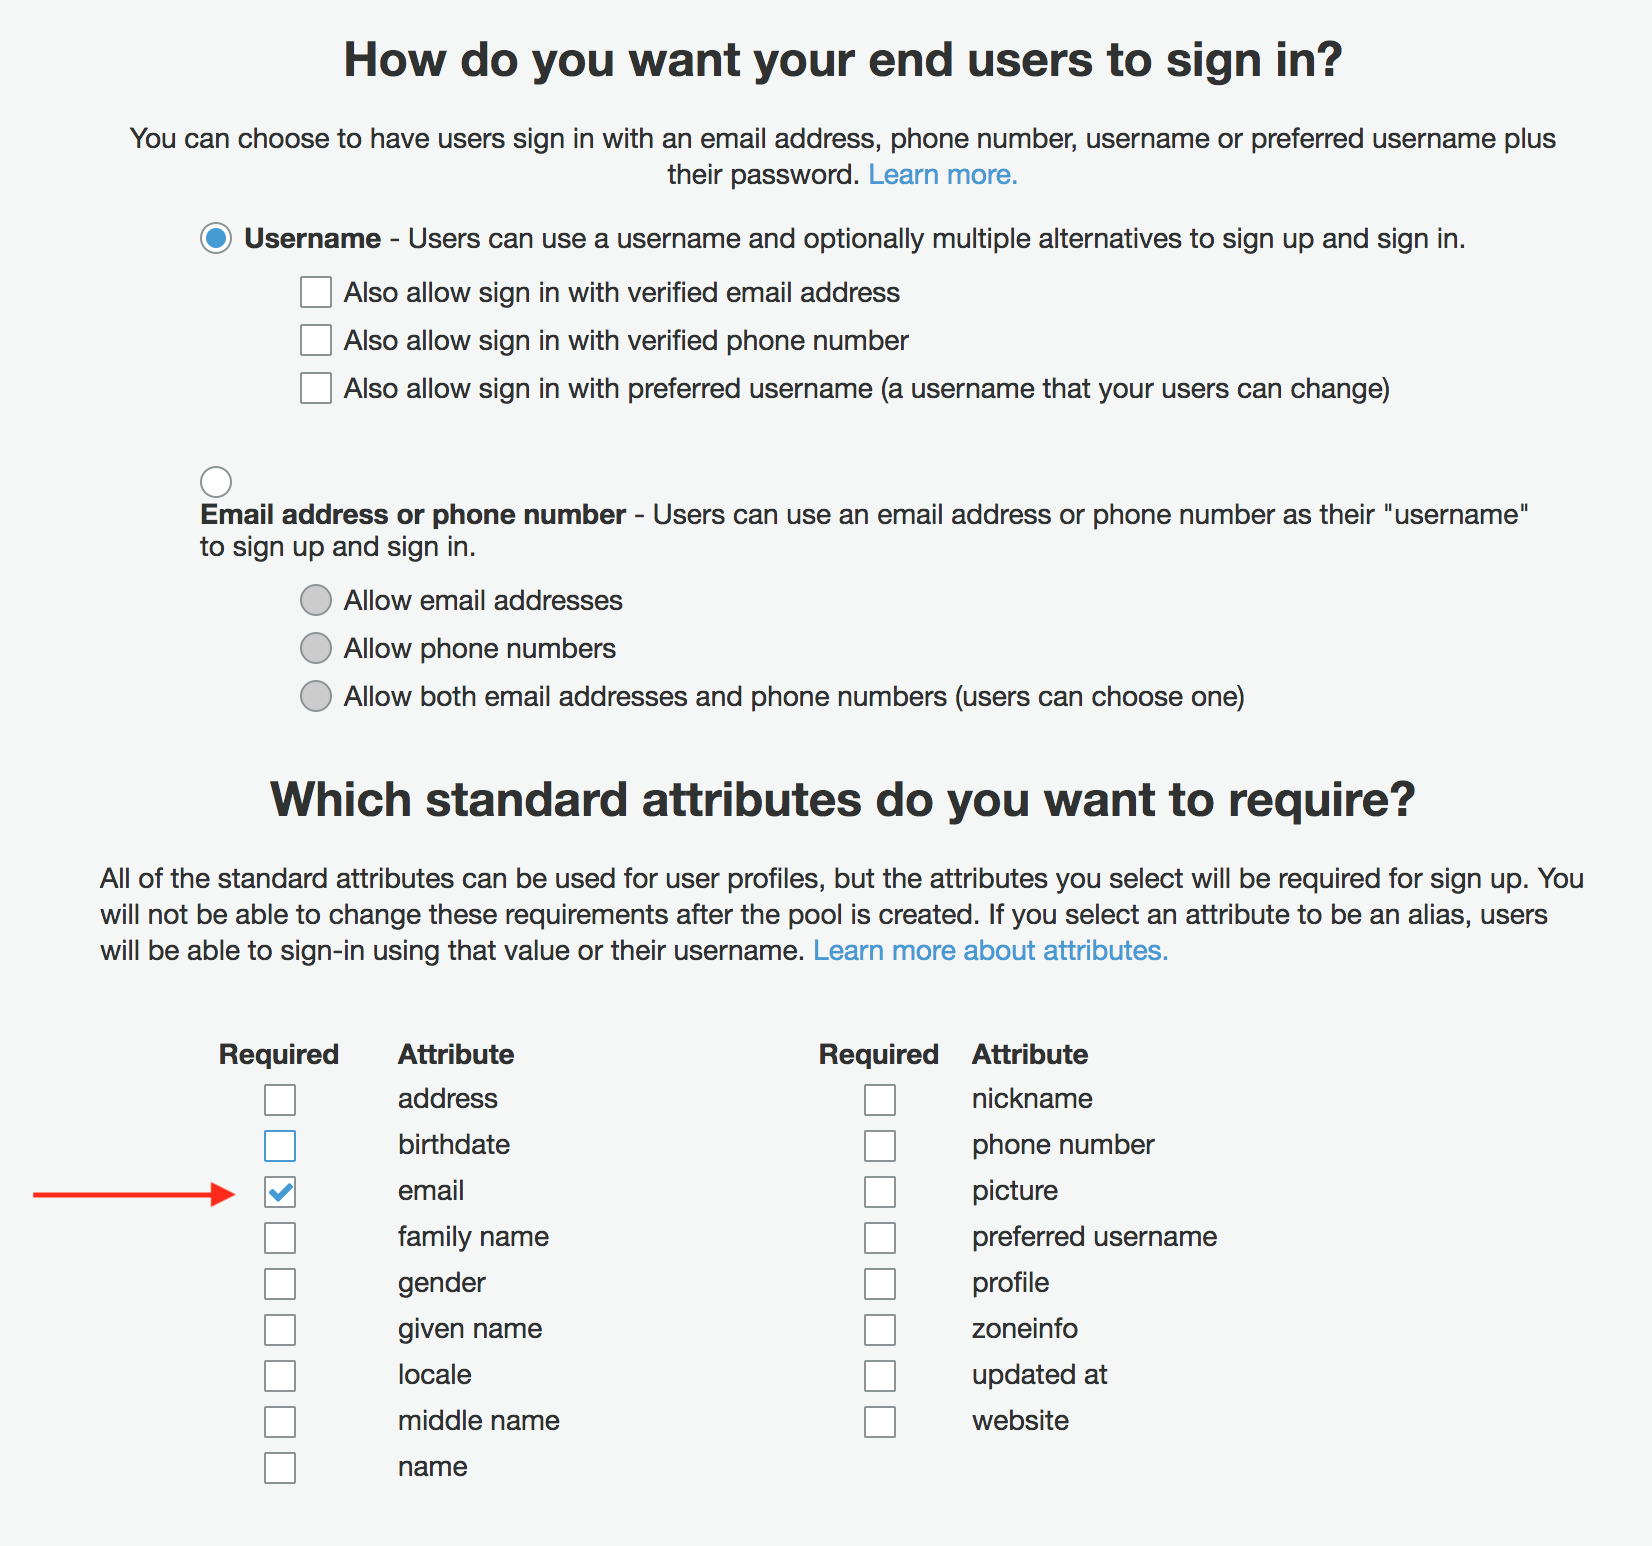
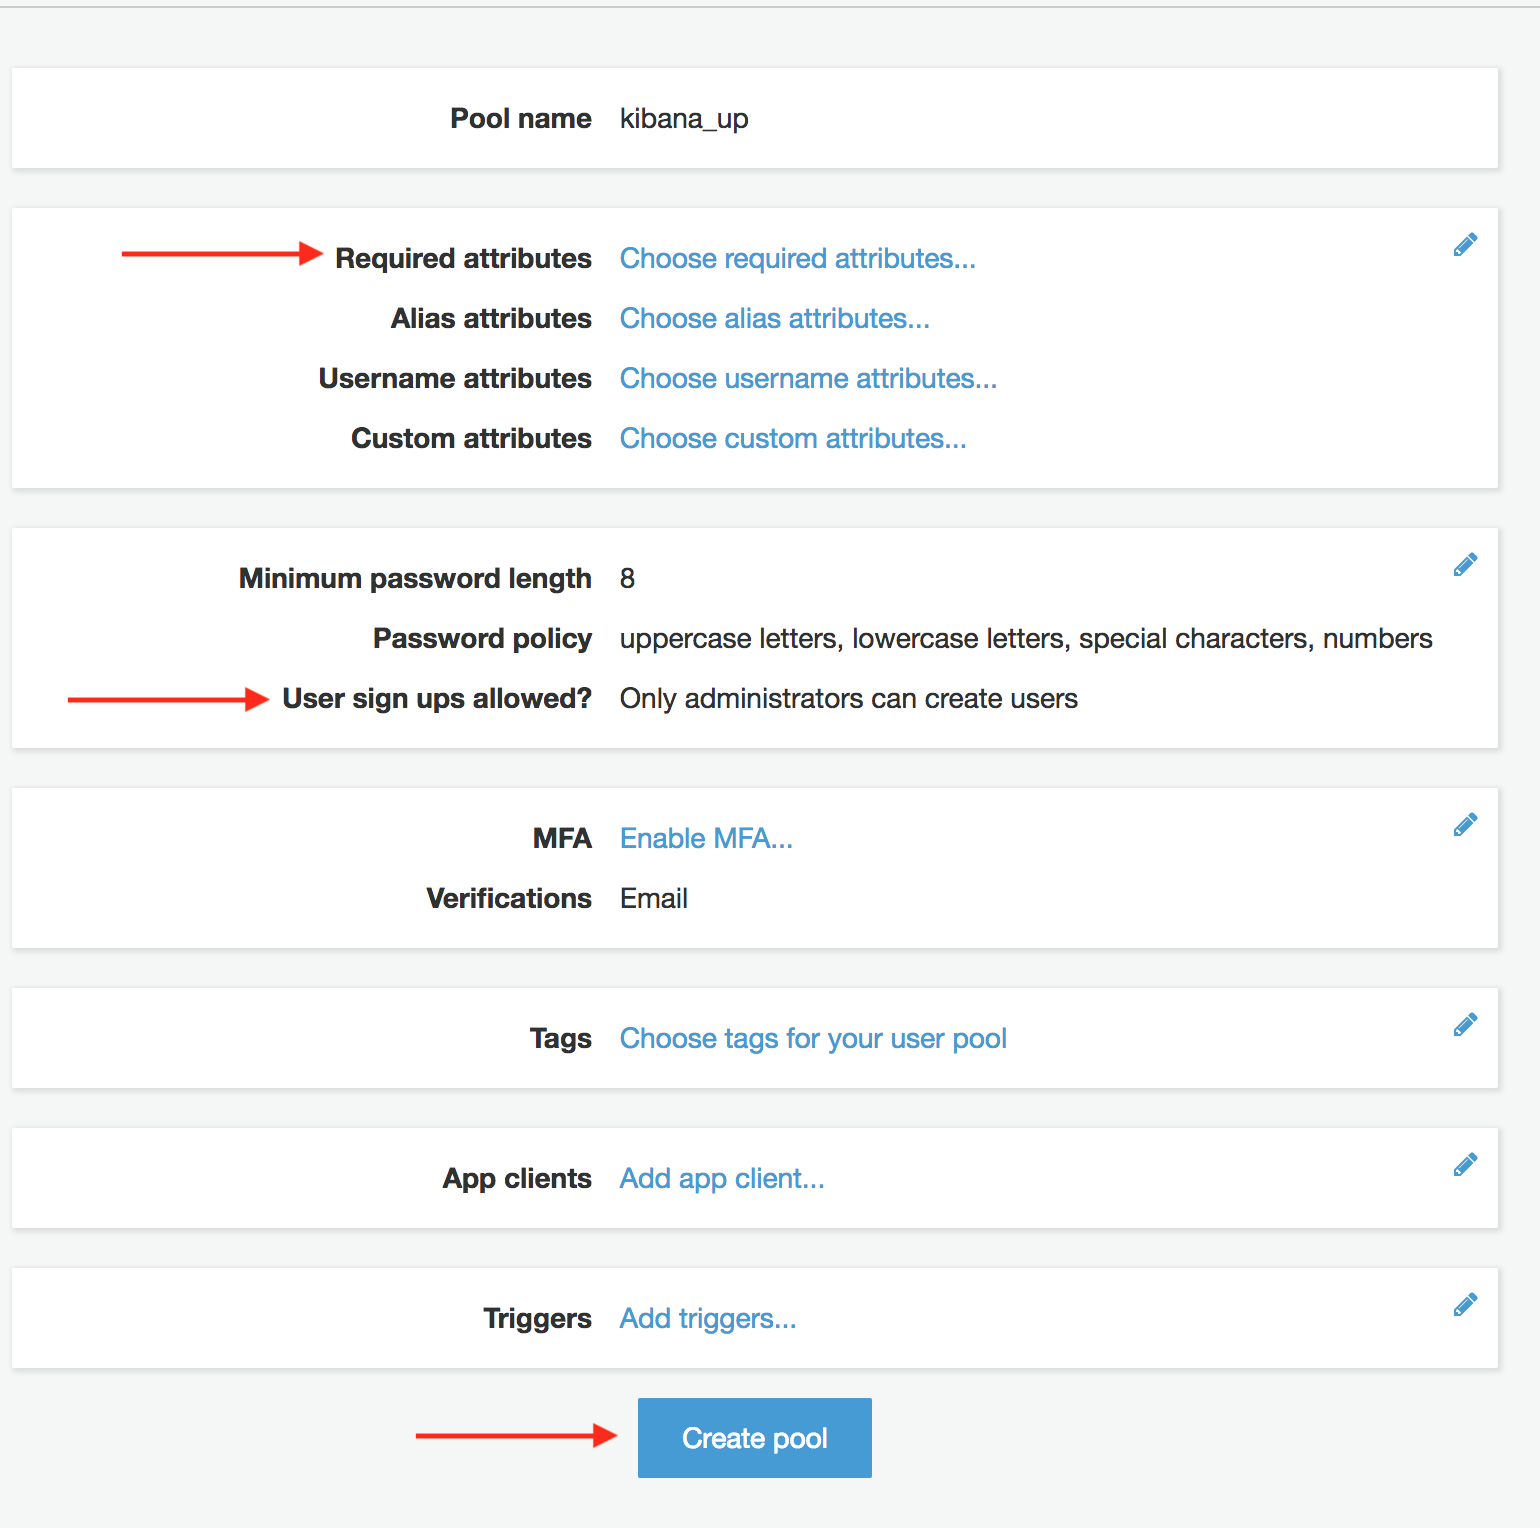
As part of a user pool, you get to determine what attributes are required. For this use case, I want to uncheck the default requirement of having an email. Note whatever you set as required attributes for your users cannot be changed! If you make a mistake here or need to change later you have to re-create a brand new user pool.
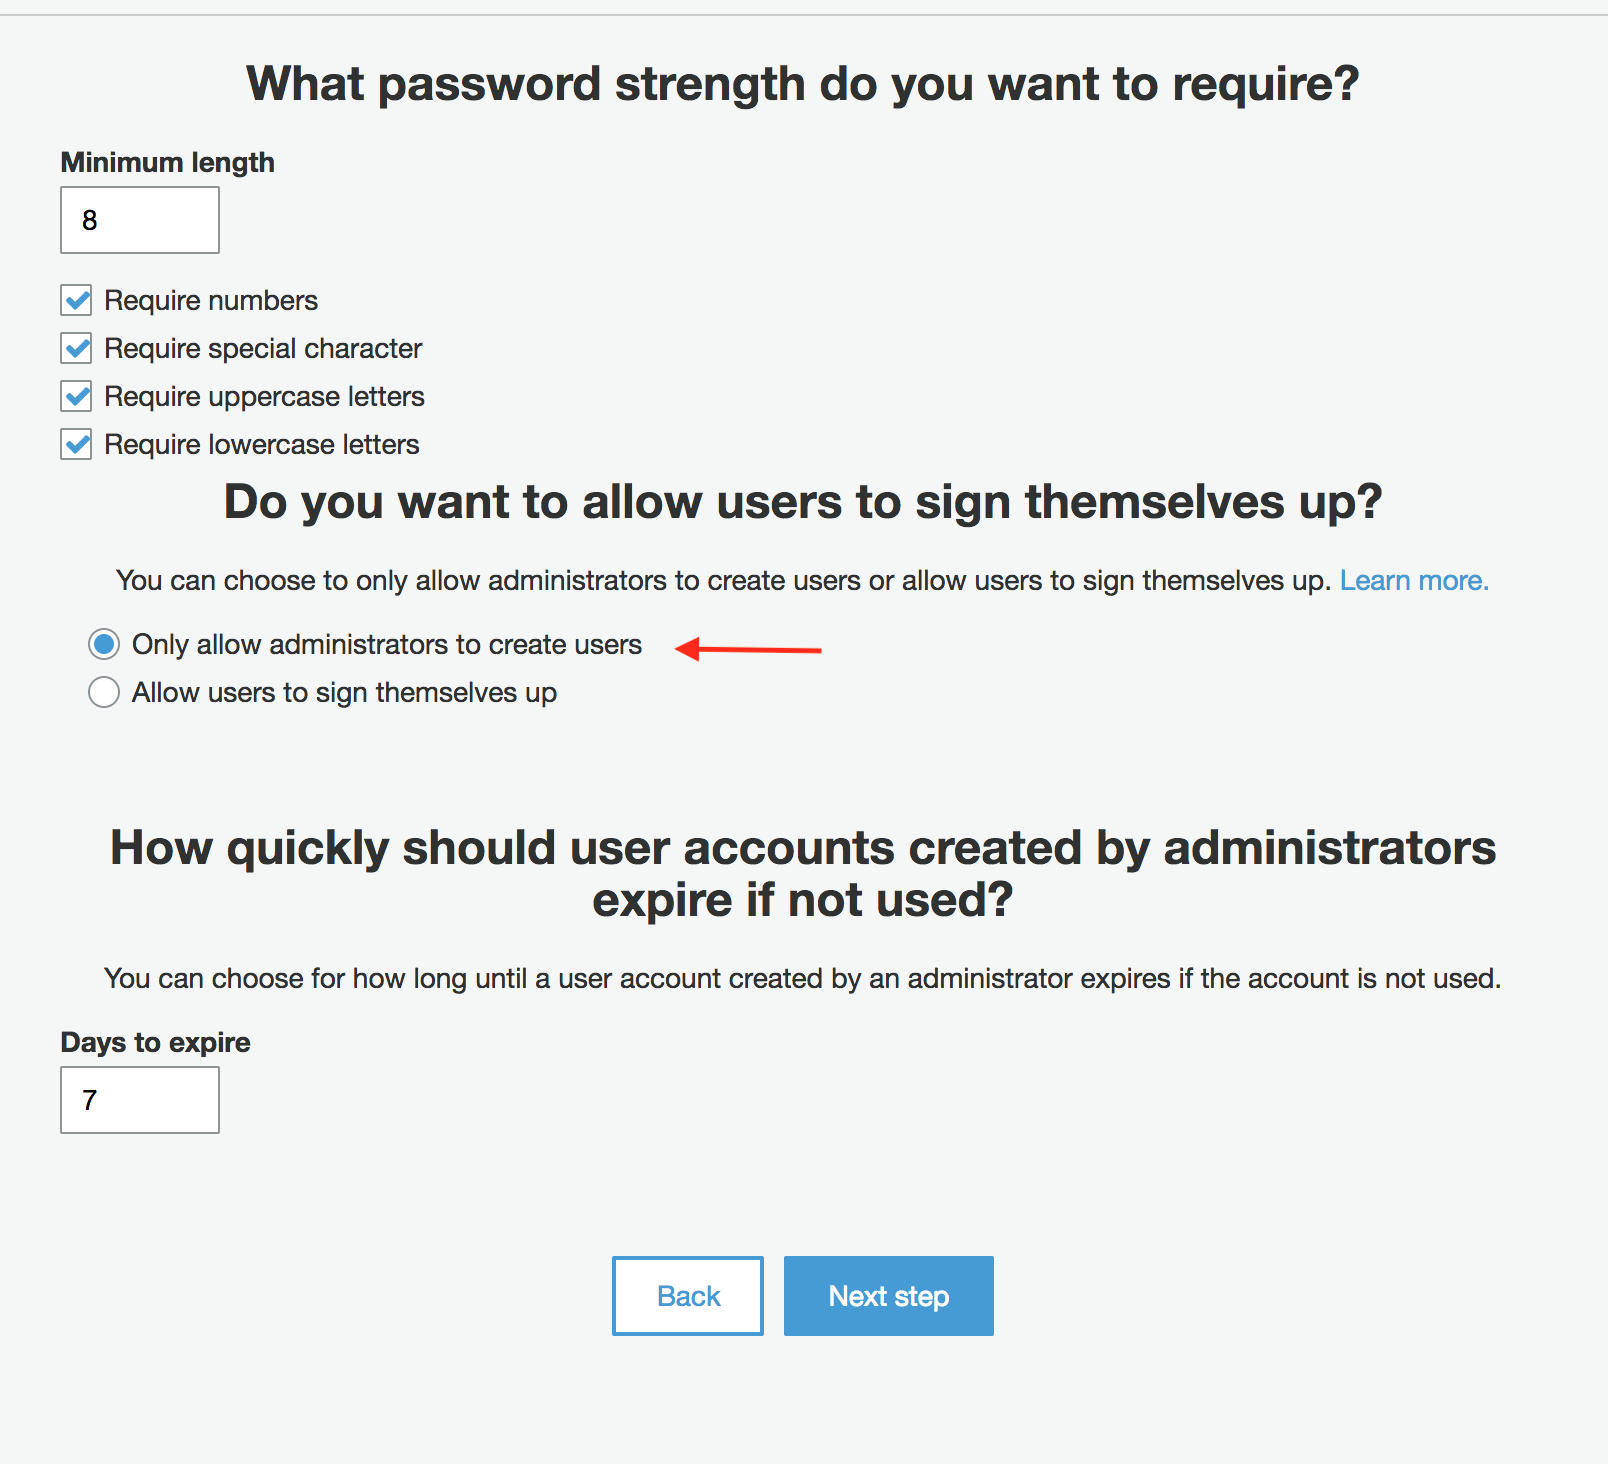
Next, change the default from allowing users to self service signups to admin only. If we’re tying this to SAML, allowing users to create their own accounts bypasses SAML entirely. You lose being able to force MFA, automatic account deprovisioning, centralized auth logging and the rest of the wonderful things that we get from SAML SSO. In the end, we don’t want any actual users in this user pool. We just want to tie this user pool to our SAML provider, so things like the password strength, MFA settings and the like aren’t valid for what we’re doing.
With those changes, your settings summary page should look like this. Go ahead and click “create pool”
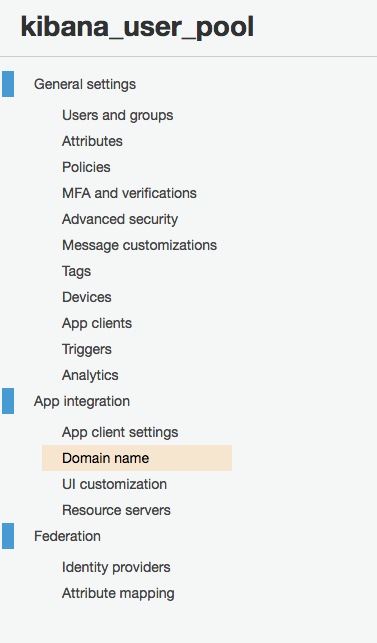
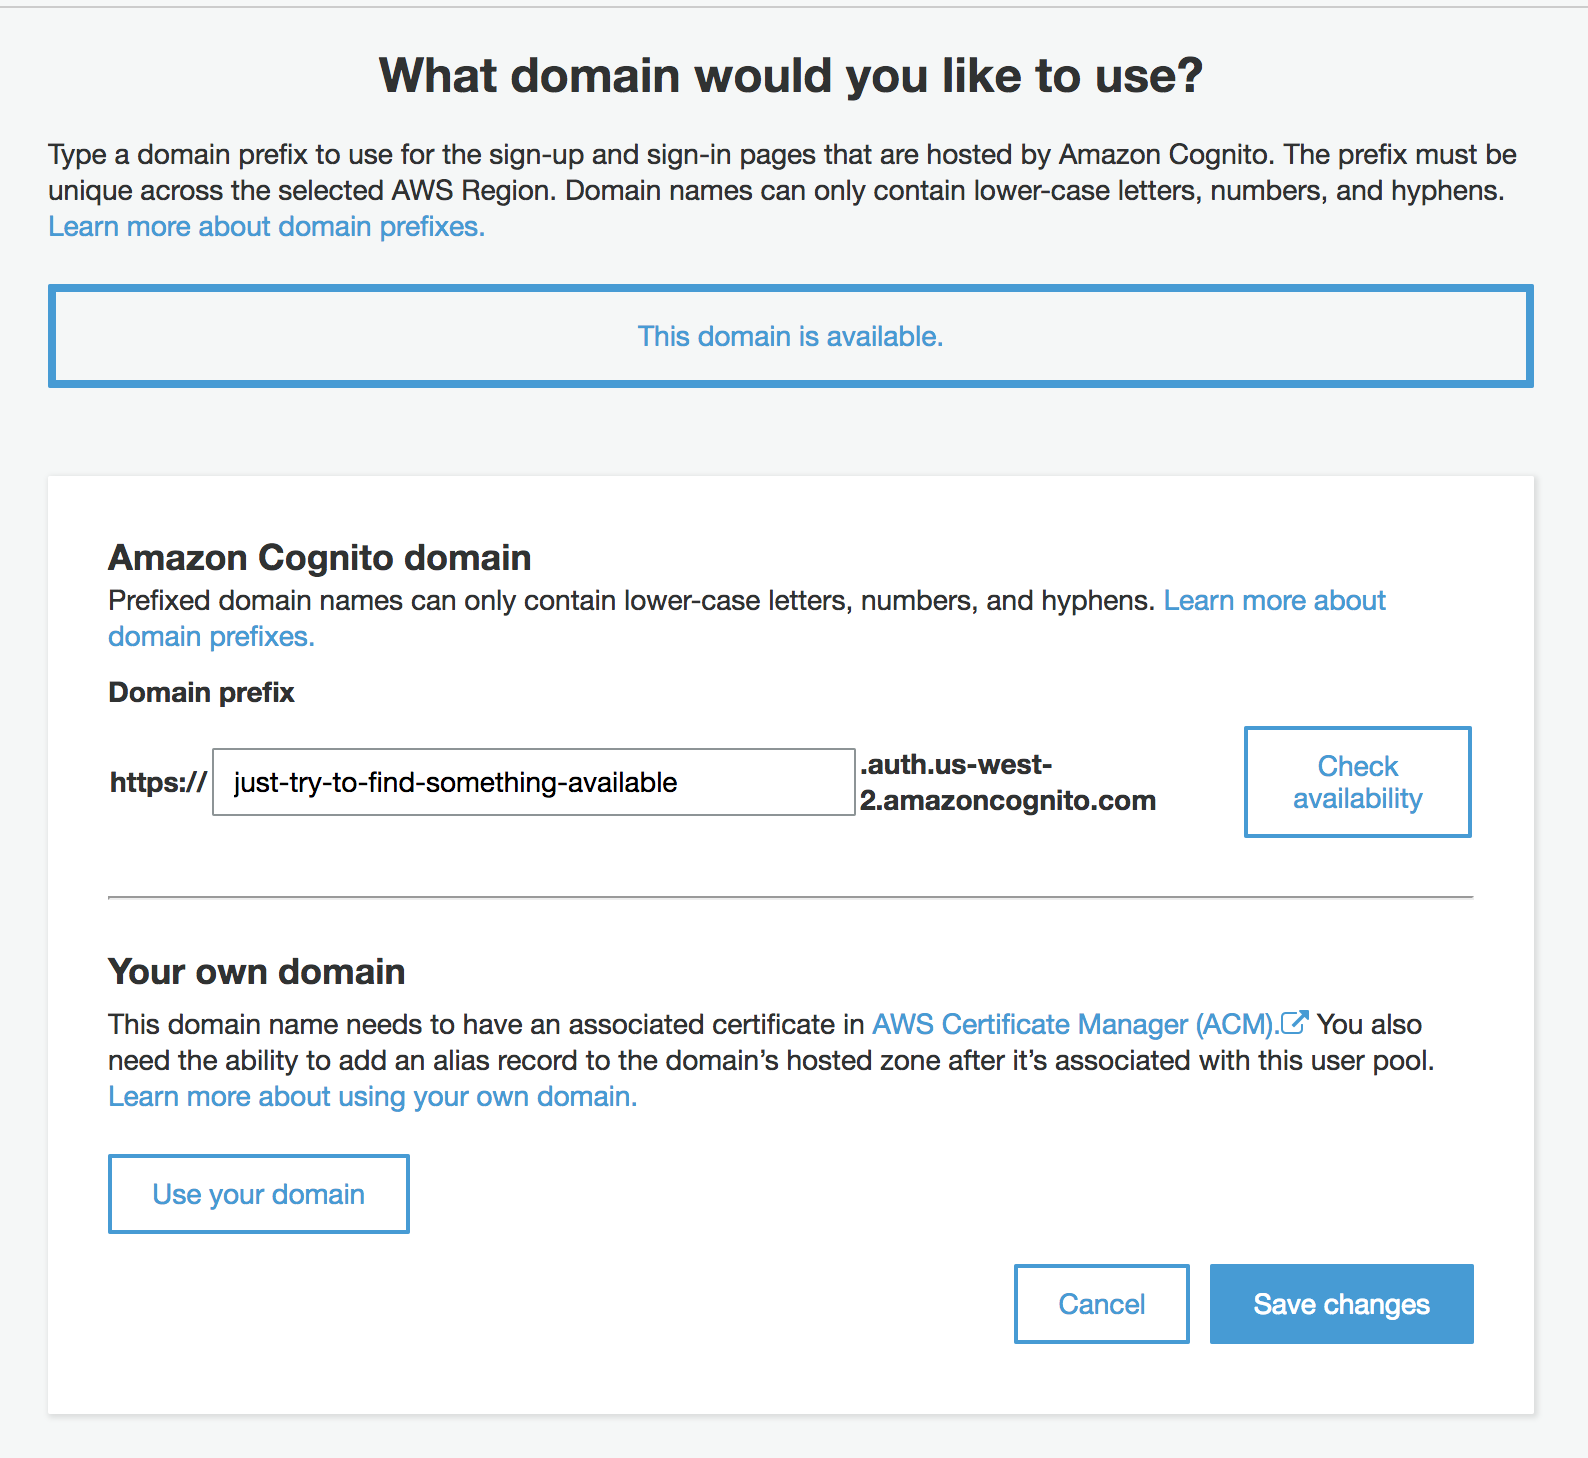
Now we’re going to do some initial configuration to the user pool, specifically we need to add a domain name. This is the name for the subdomain that will host all of the sign-in and sign-out pages for your user pool. Select “App Integration” > “Domain Name” from the user pool menu.
Like S3 buckets, the name space for this is global so you’ll need to find a domain name that’s unique and not used by anyone else on earth. In the end, functionally speaking it doesn’t matter, just find an available subdomain, and hit “Save Changes” in the lower right.
Create a Cognito Identity Pool
With our user pool created, we’re now going to need to add our identity pool.
Click the “Create new identity pool” in the upper left corner
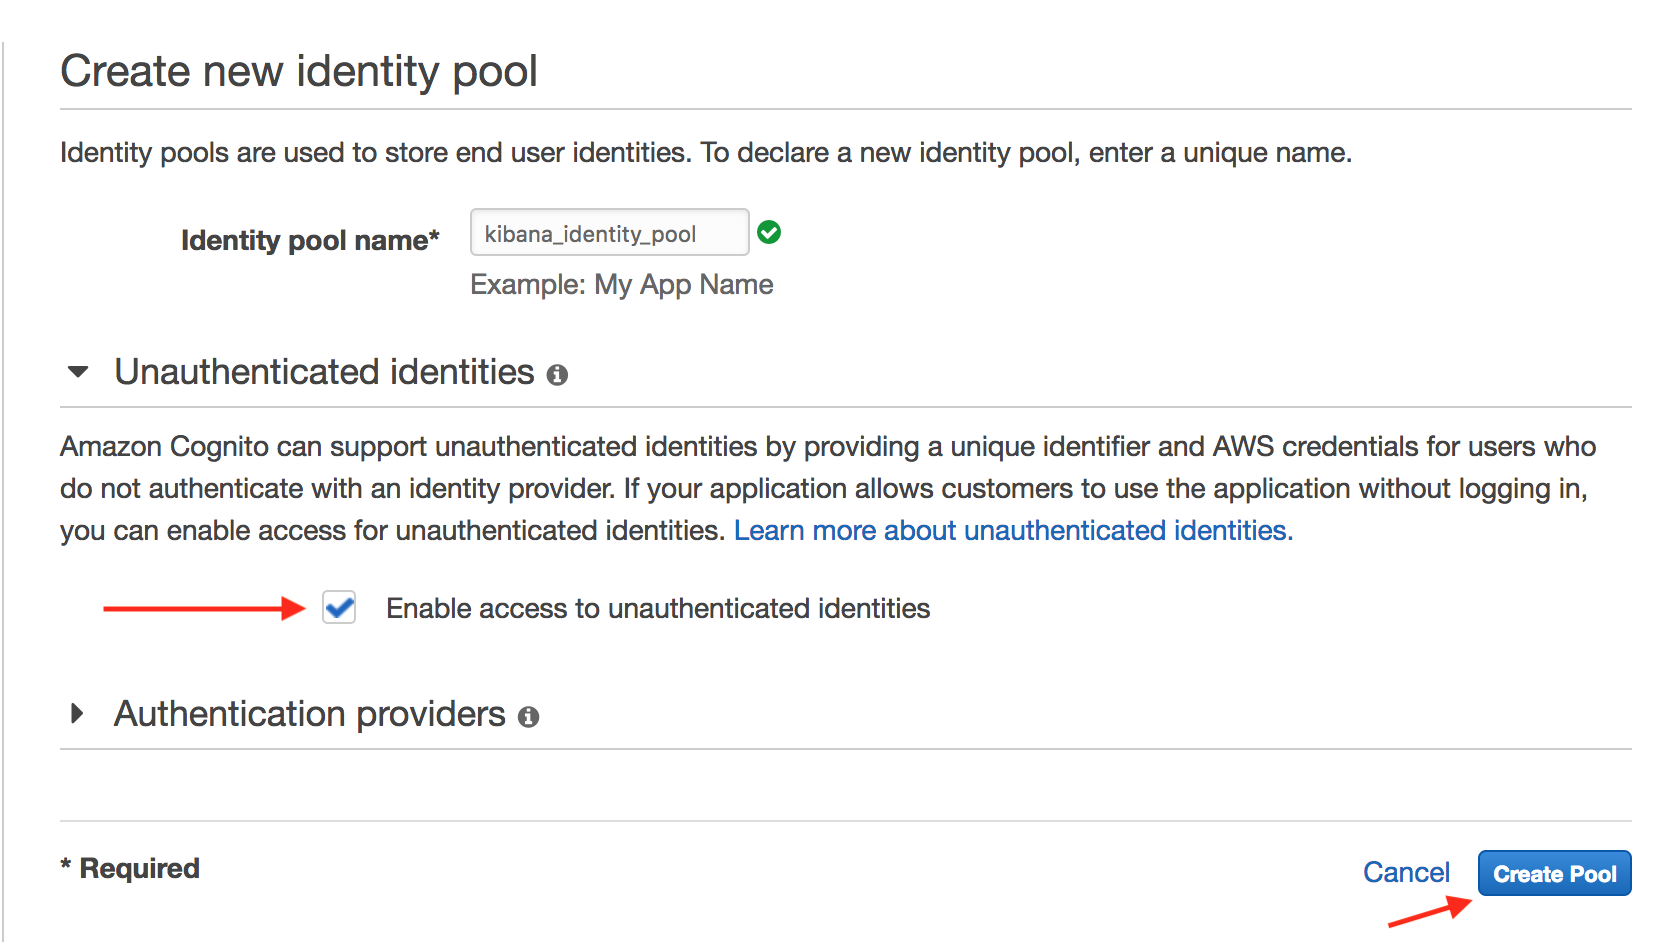
For this identity pool, name it whatever you want, and start by checking the “Unauthenticated identities” checkbox. We’ll circle back to un-check this later, but to create an identity pool, you have to either have one of the authentication providers checked or allow unauthenticated identities. When we add this identity pool to AWS Elastisearch, it will automatically create the correct app and the authentication provider information in this identity pool that it needs, but we have to create the identity pool before Elasticsearch adds the authentication provider info. Check the box now just to get it created, and then you can uncheck it after the Authentication Providers are added. (or, leave it and just don’t assign the unauthenticated identity role to any IAM permissions. Similar end state.)
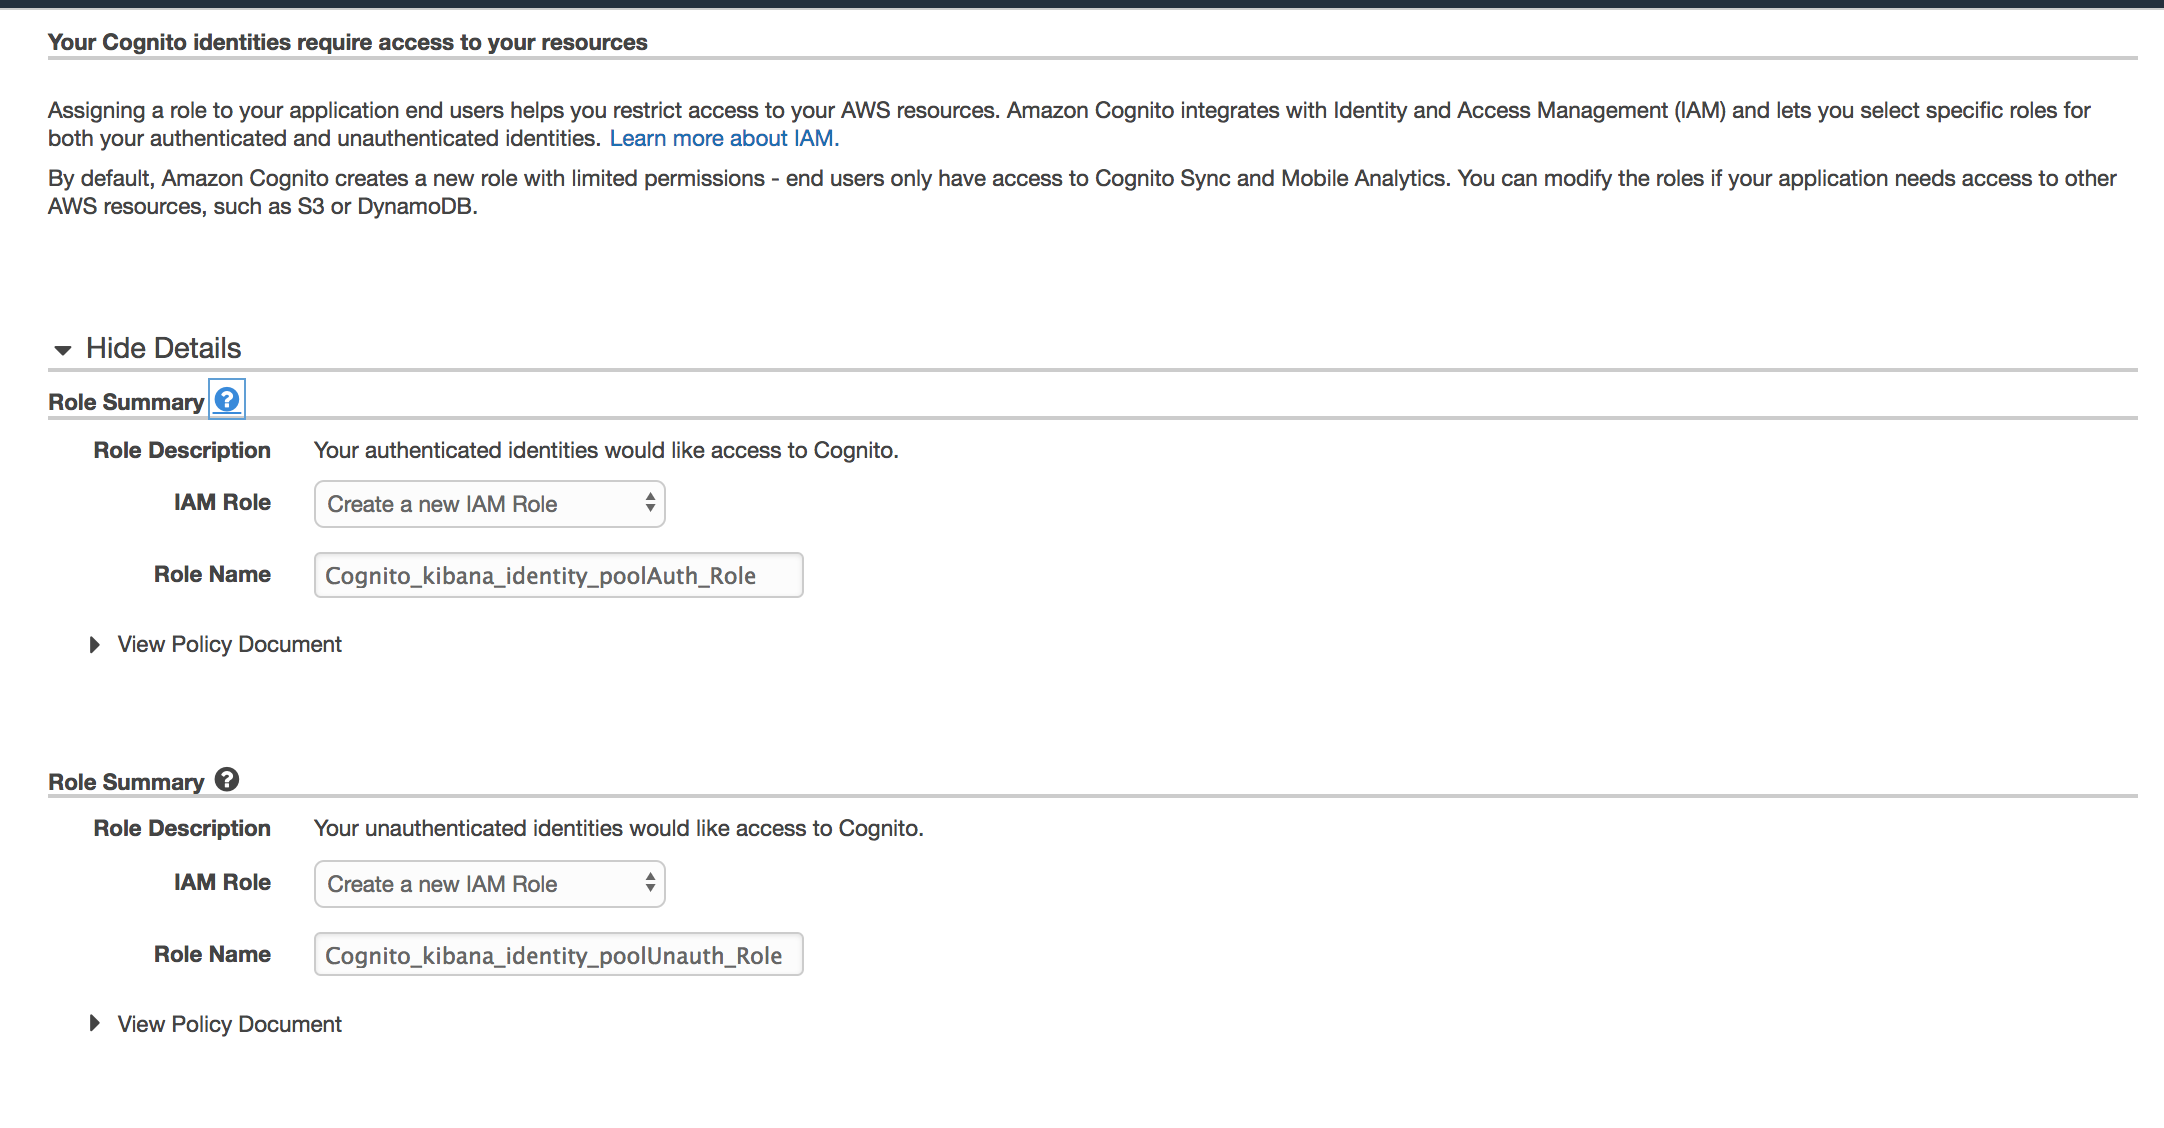
You’re then going to be asked to name the IAM roles that correspond to authenticated and unauthenticated users that this identity pool will hand out. Default naming convention is fine.
Configure the Elasticsearch cluster to use Cognito Auth
Now we’re going to add this to Elastisearch
Go into the cluster that you want to edit and click on “Configure cluster” in the upper left.
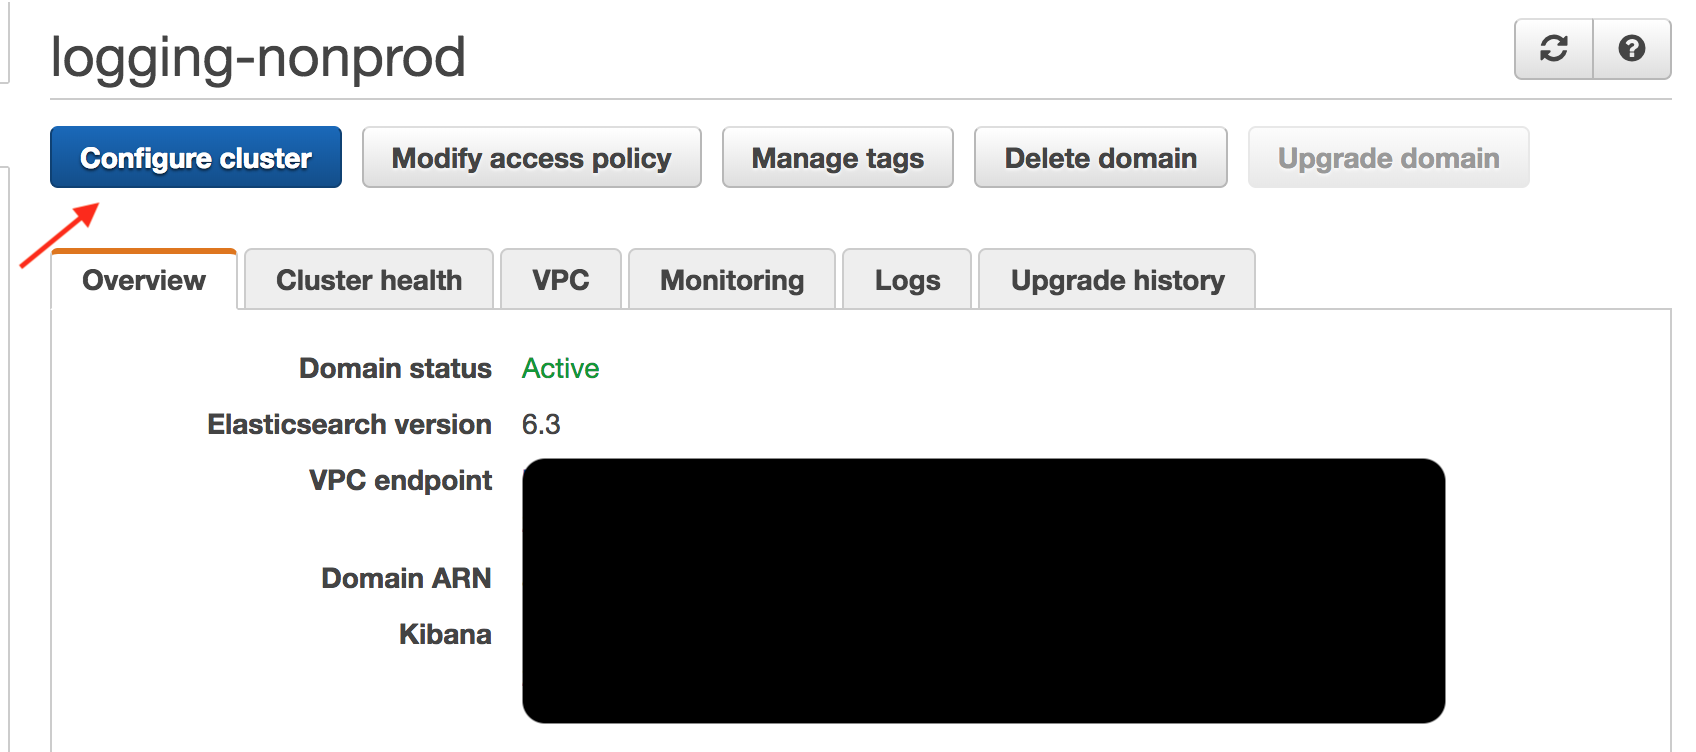
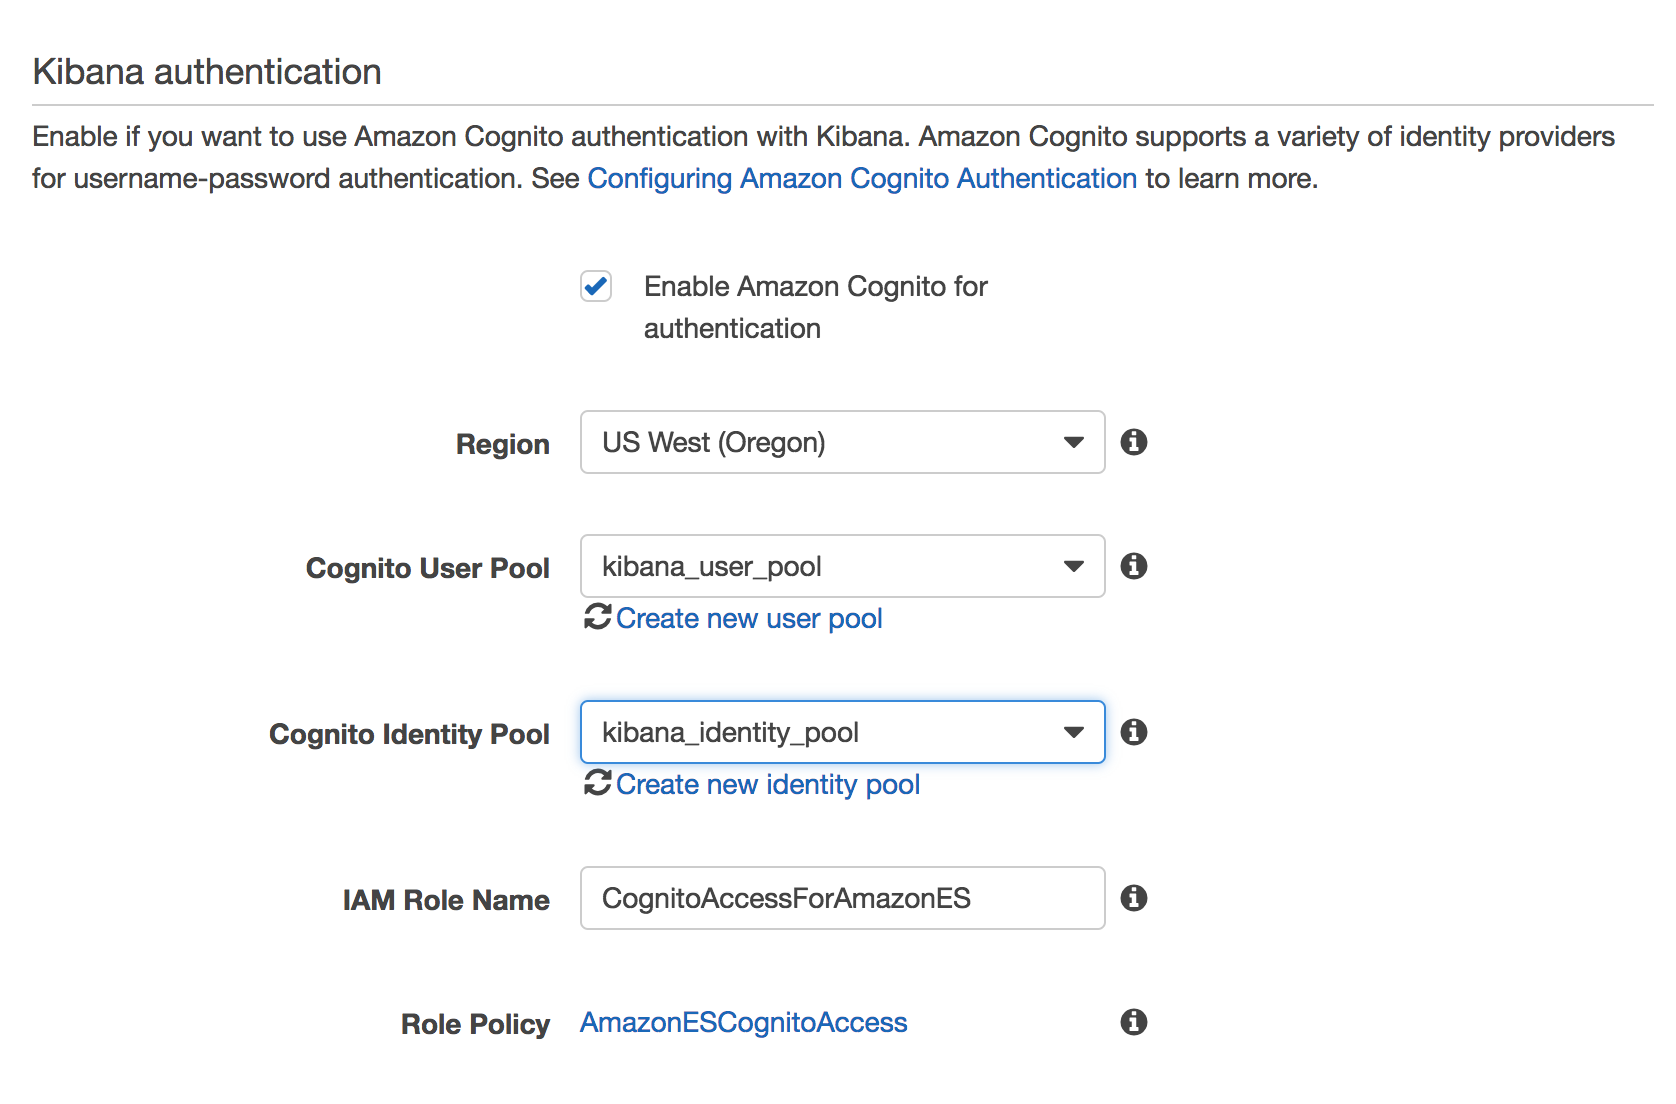
Once in the configuration screen, find the “Enable Amazon Cognito for Authentication” checkbox and select your newly created Cognito User Pool and Cognito Identity Pool
Once you save, the reconfiguration will go on in the background for a while, depending on how much data and nodes you have in the cluster. It will also automatically configure the application information that you need inside of the Cognito User Pool.
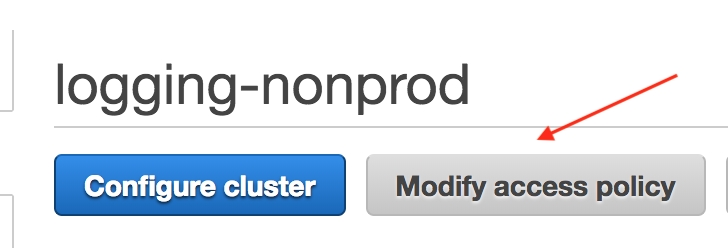
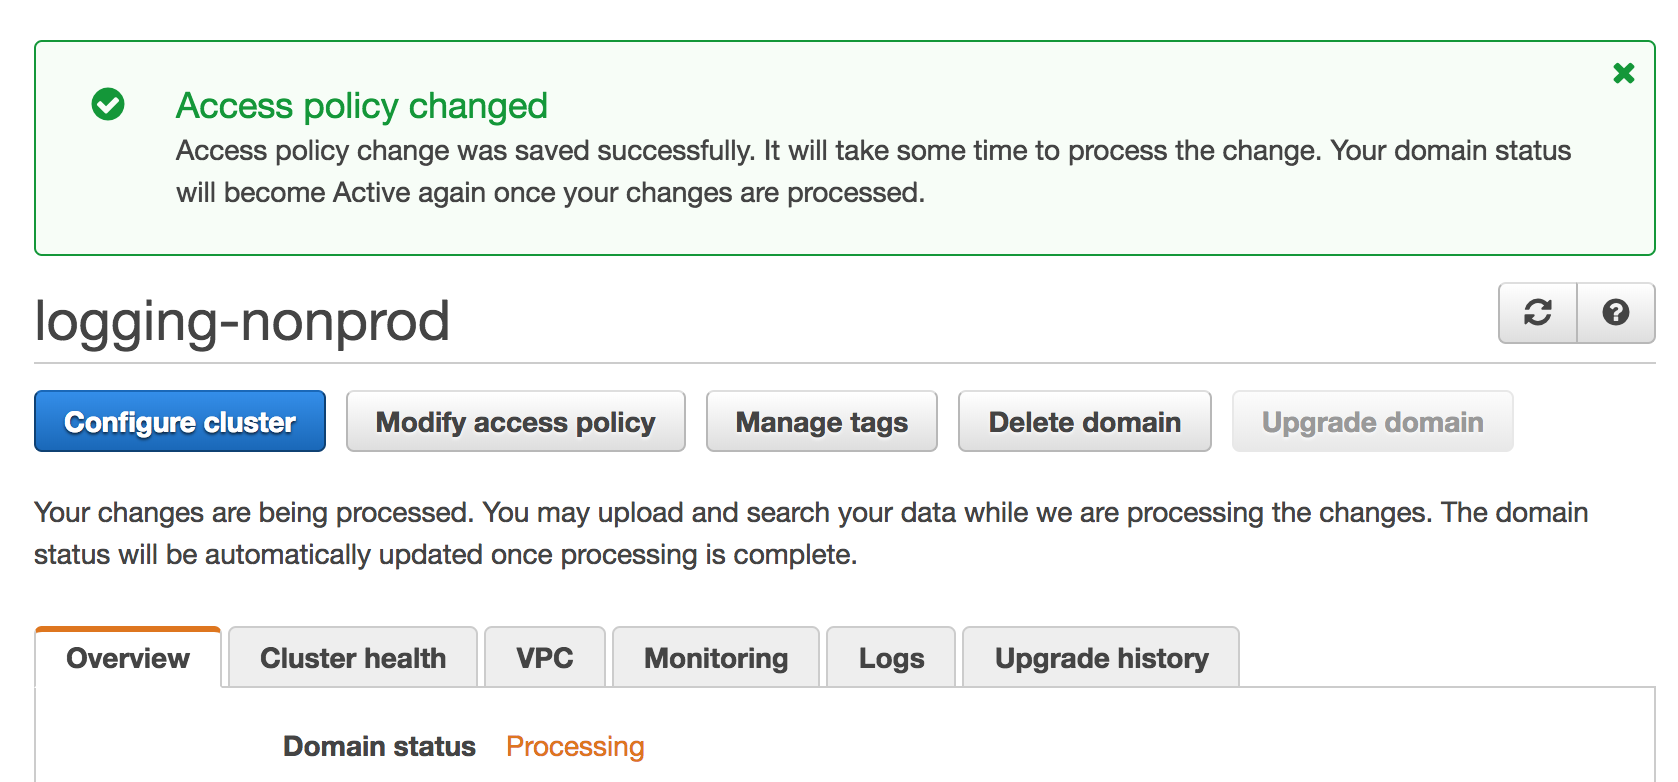
Next step is to edit the IAM access policy for your Elasticsearch cluster. Click on the Modify access policy
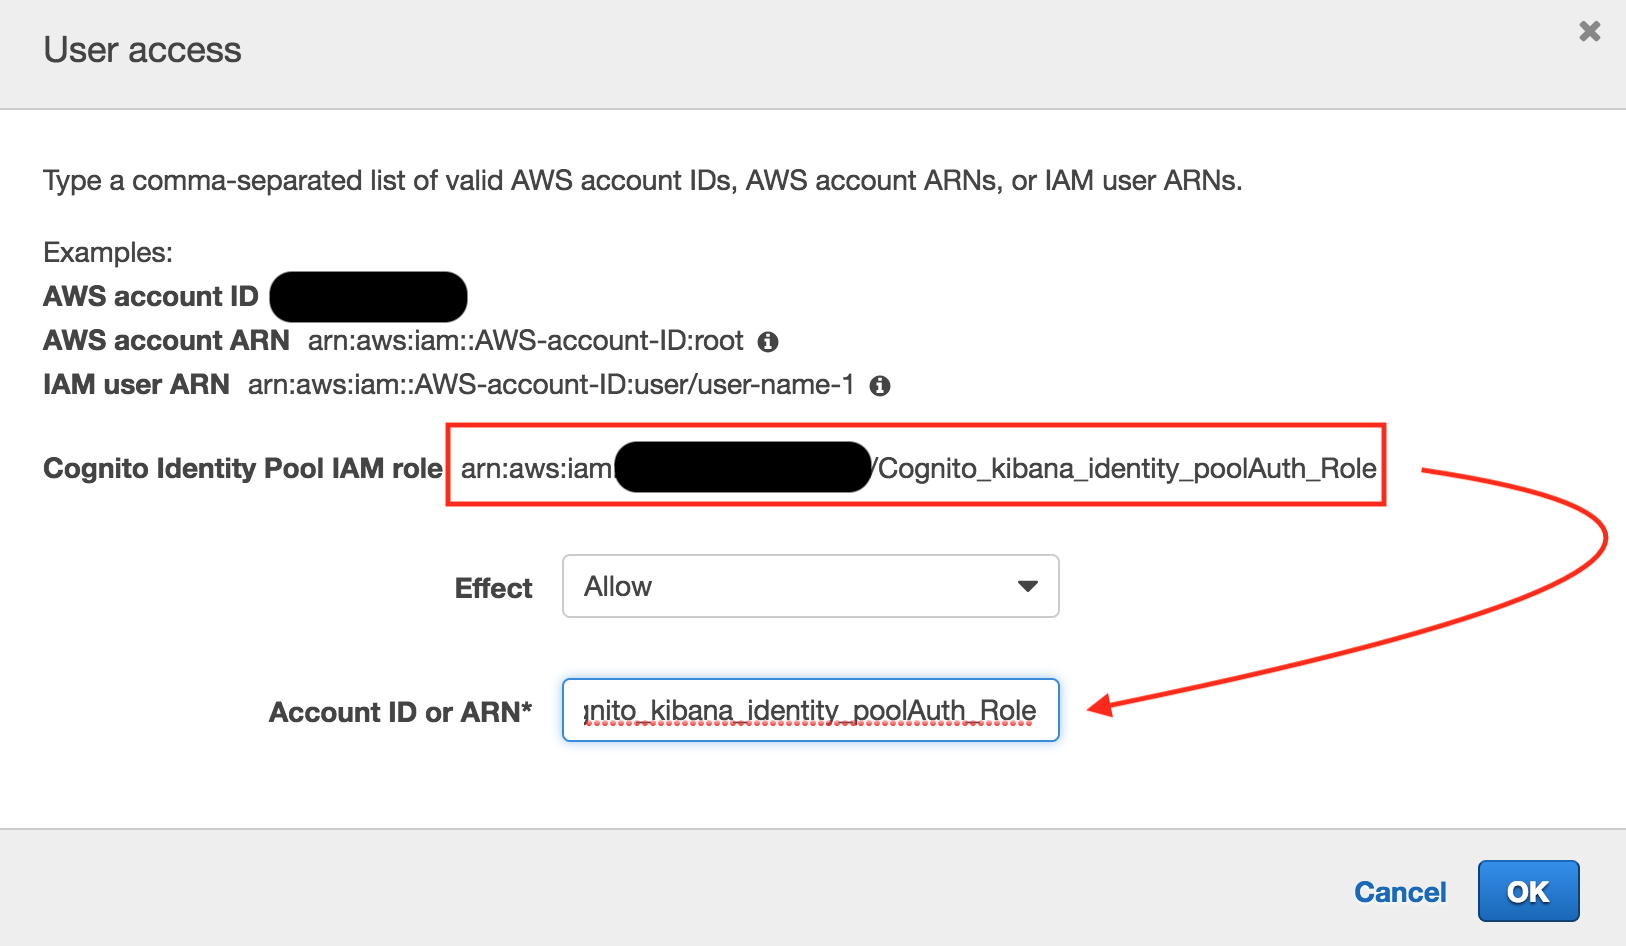
There’s a number of prebuilt templates that are helpful. From the drop-down, select “Allow or deny access to one or more AWS accounts or IAM users”

From here, AWS gives some helpful examples, including the Cognito Identity Pool IAM role. Copy and paste that role into the “Account ID or ARN*” field with allow. Be sure that you’re pulling Cognito Identity Pool’s authenticated IAM role and not the Unauthenticated one.
Both adding Cognito and changing the access policy should set the Domain status to “processing”. When the changes are complete, expect to see the Domain status change back to “Active”
Configure Okta SAML for the Cognito User Pool
At this point, we’ve successfully setup the basic authentication for Elasticsearch. If you want to test, you can manually create a user in your user pool with a password and use that to try to log in to Kibana. To setup the additional layer of SAML auth, we’re going to need to do some additional tweaking. Go back into your Cognito User Pool and into “App Integration > App client settings.
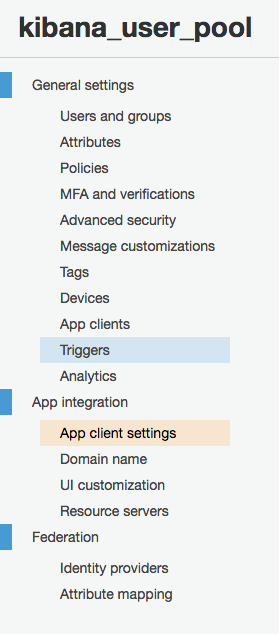
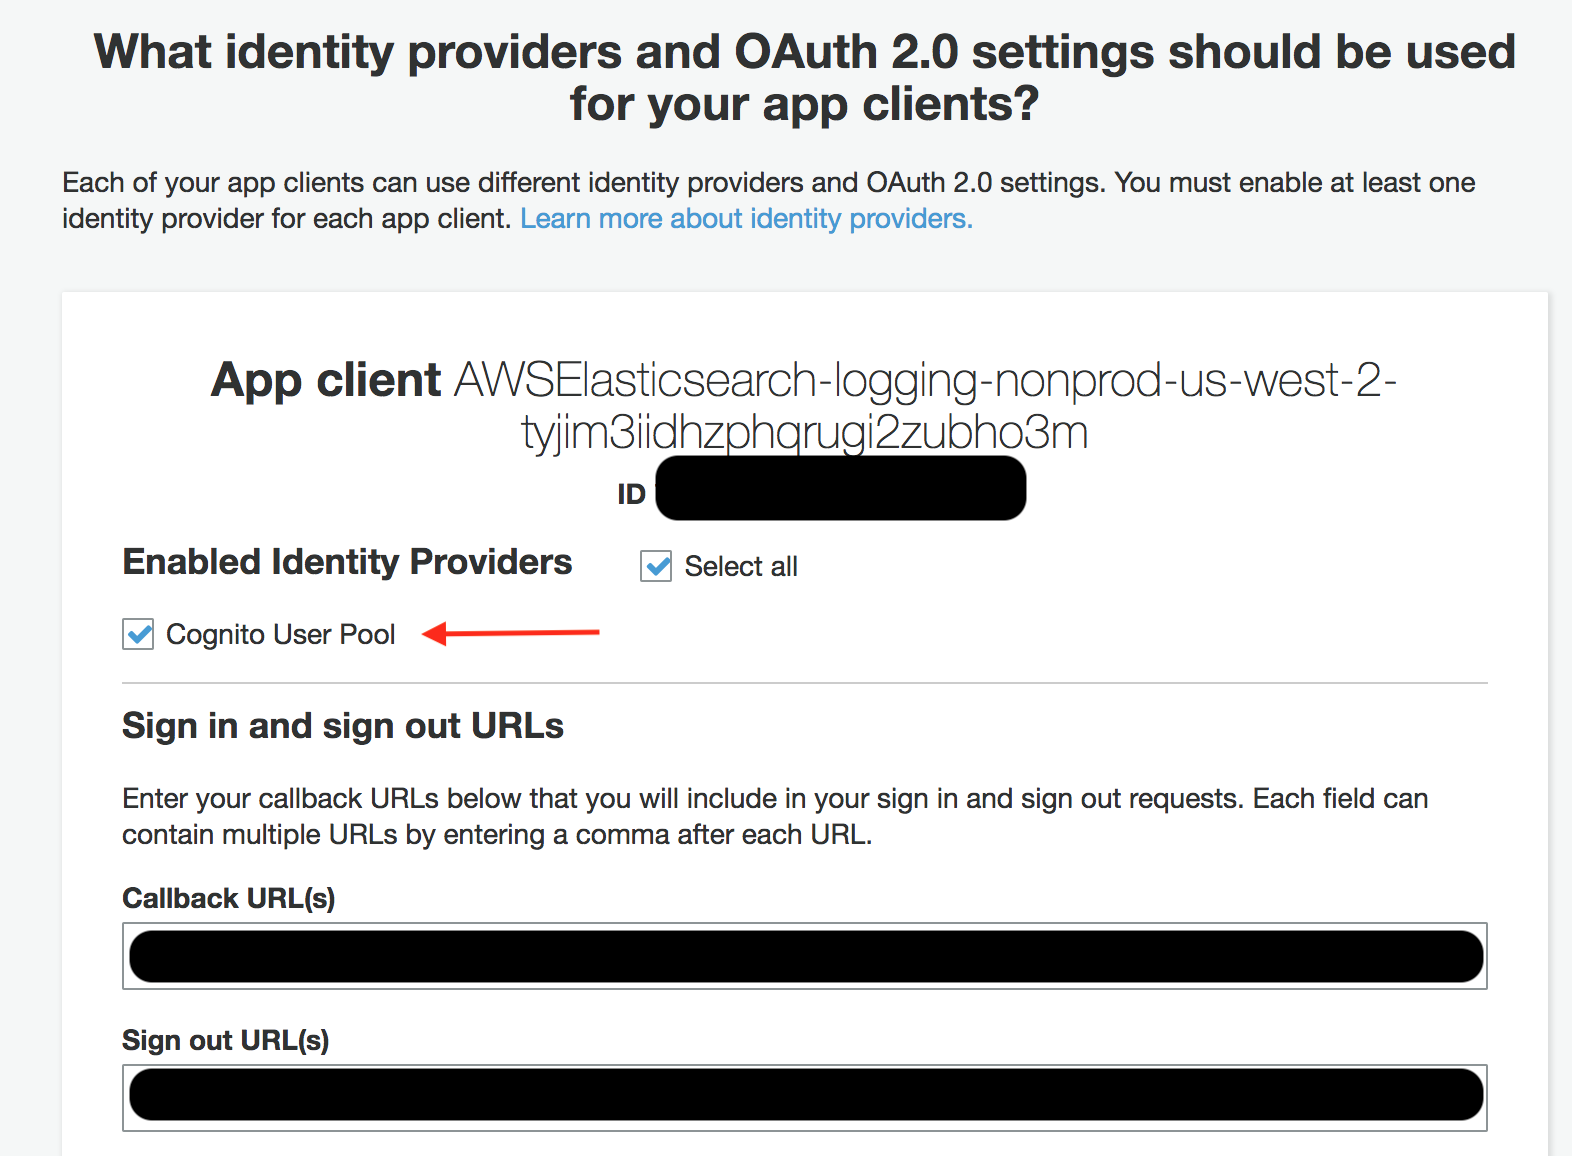
In there, you should see an auto-generated application that was made by the AWS Elasticsearch cluster. You should see the only enabled identity provider for it is the “Cognito User Pool” IE, users created by admins for this user pool. At this point, we want to add our third party SAML provider to the user pool.
We’ll configure Okta first. To do so, you’ll need your Amazon Cognito Domain that you set in as part of the initial setup and the pool ID. The pool ID can be found in the “General settings” section. User pool IDs are in the form

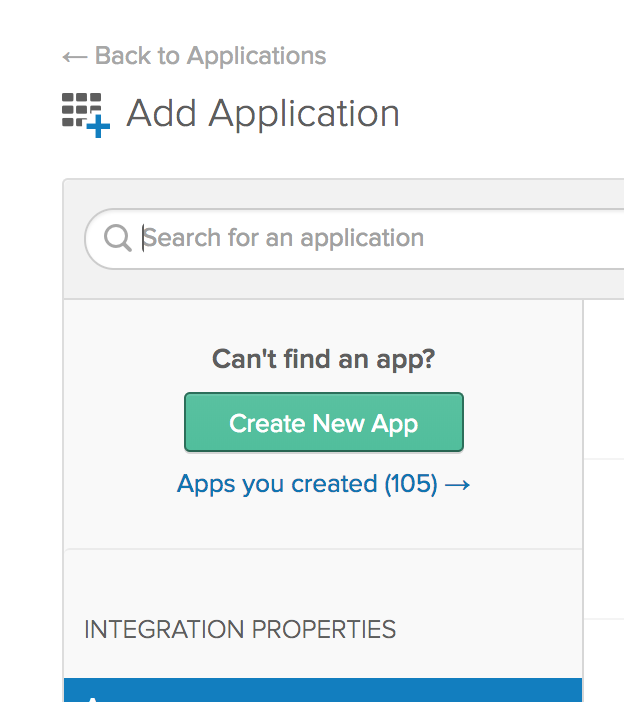
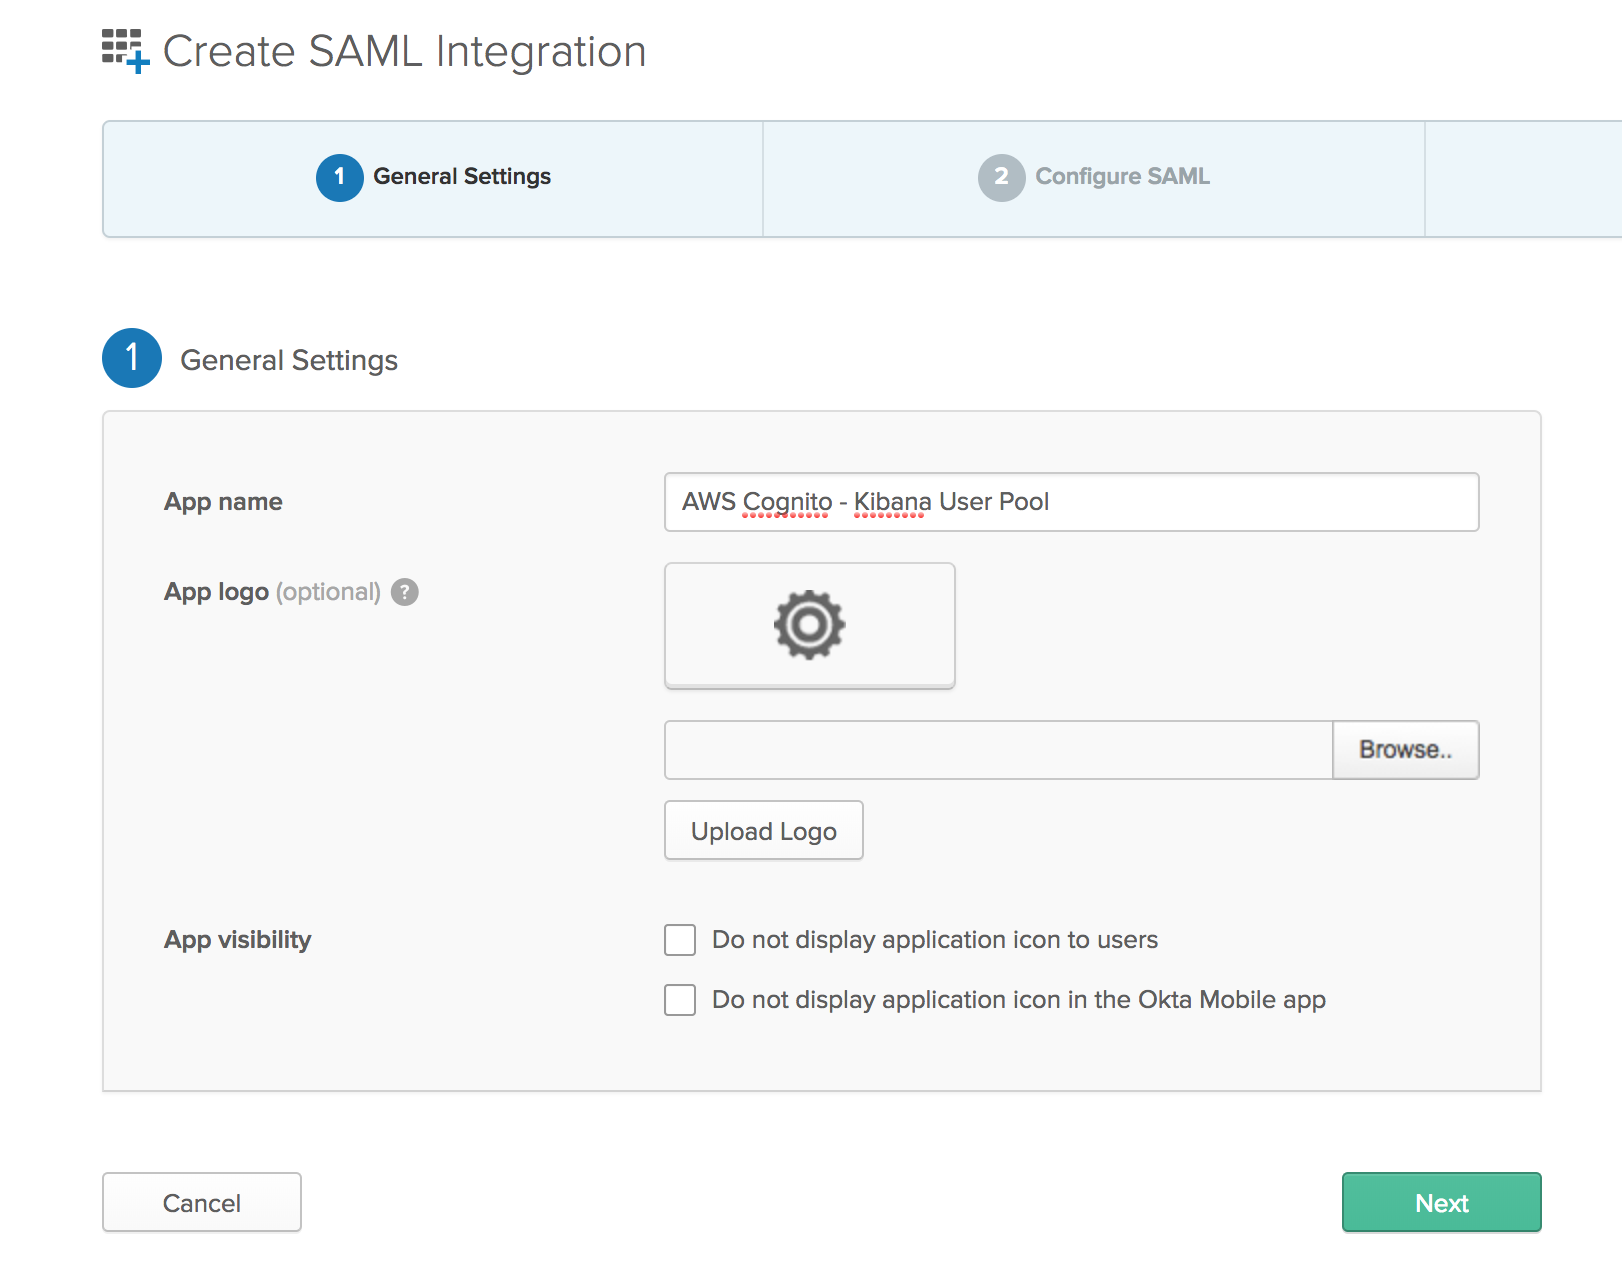
In Okta, create a new SAML 2.0 app. Name it whatever you want:

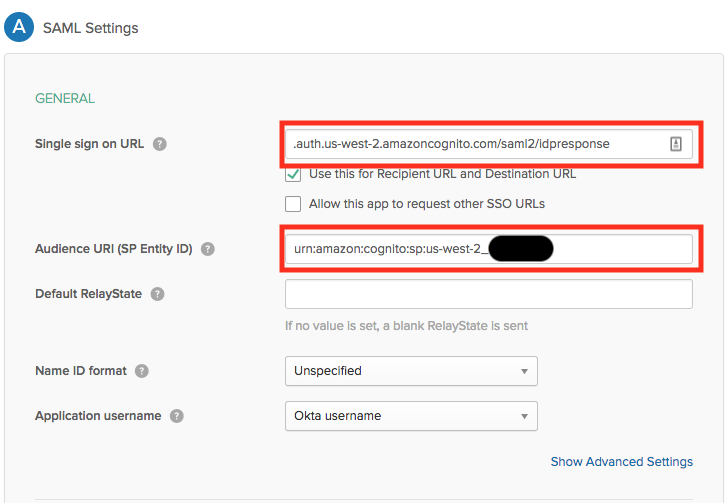
 The important part comes in the SAML settings.
For the single sign on URL you should add your Amazon Cognito Domain followed by “/saml2/idpresponse” In the form:
https://<yourDomainPrefix>.auth.<region>.amazoncognito.com/saml2/idpresponse
And in the Audience URI (SP Entity ID) enter
urn:amazon:cognito:sp:<yourUserPoolID>
(Official AWS documentation on the SAML settings)
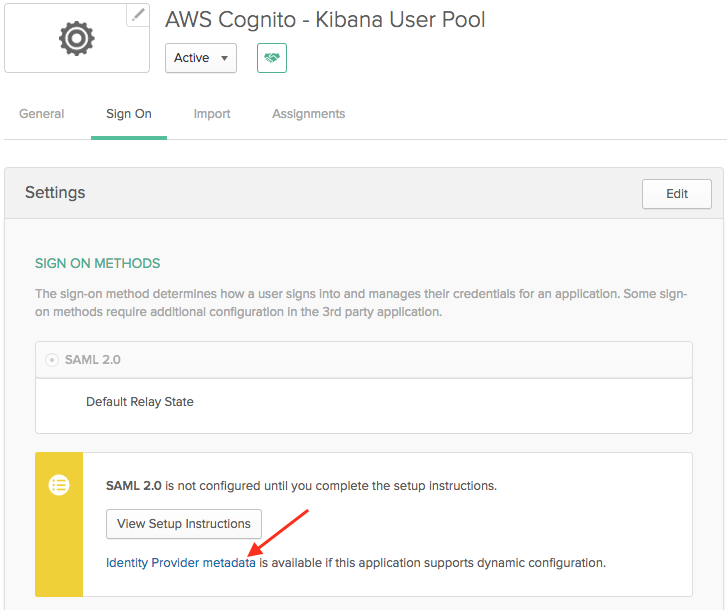
Once complete, download the metadata information file or copy the link to the metadata file.
Add Okta SAML as an identity provider in your user pool
Go to “Federation > Identity providers”
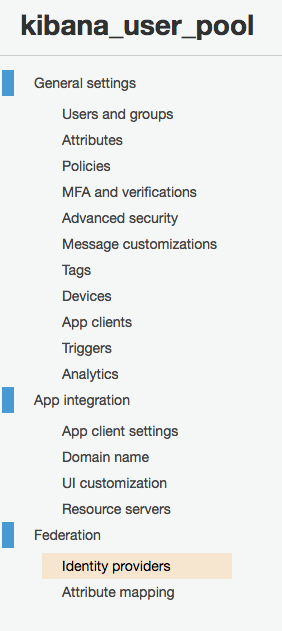
And here you have a screen for other identity providers outside of the user pool. Add “SAML”
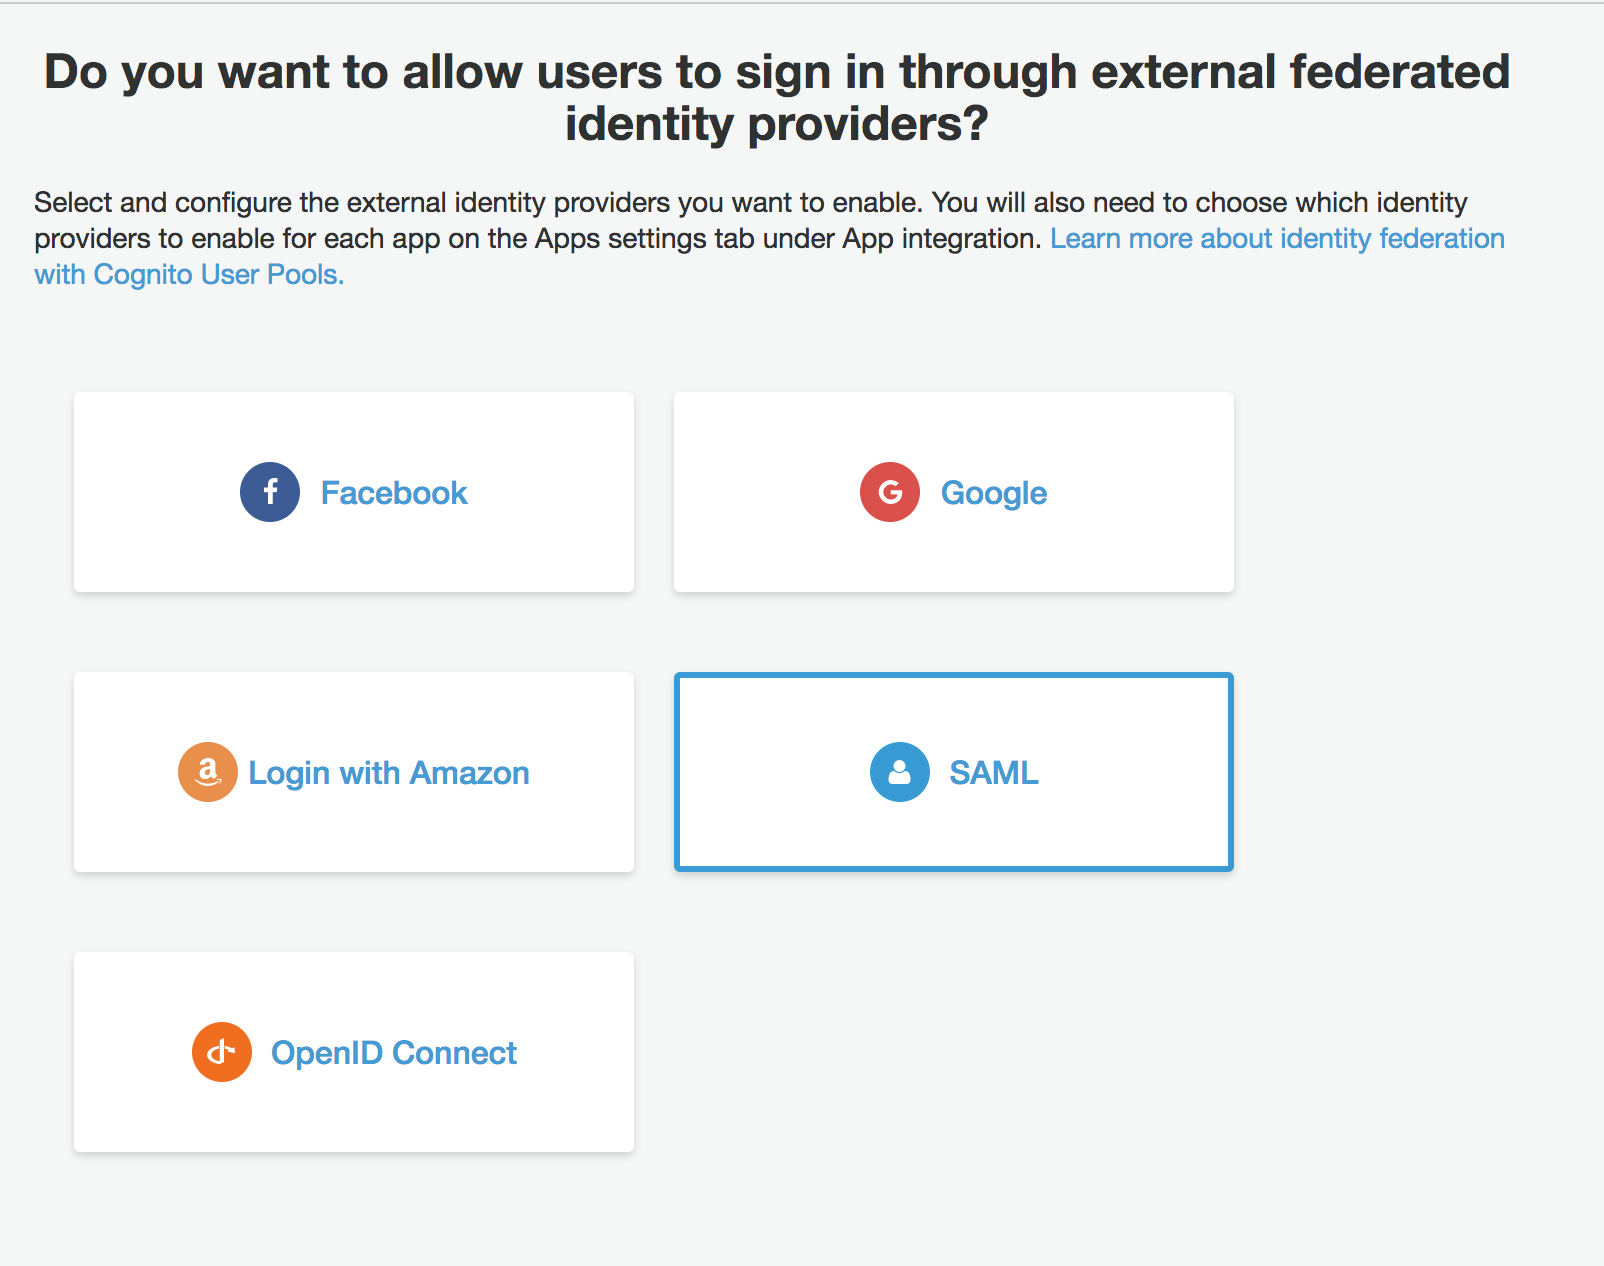
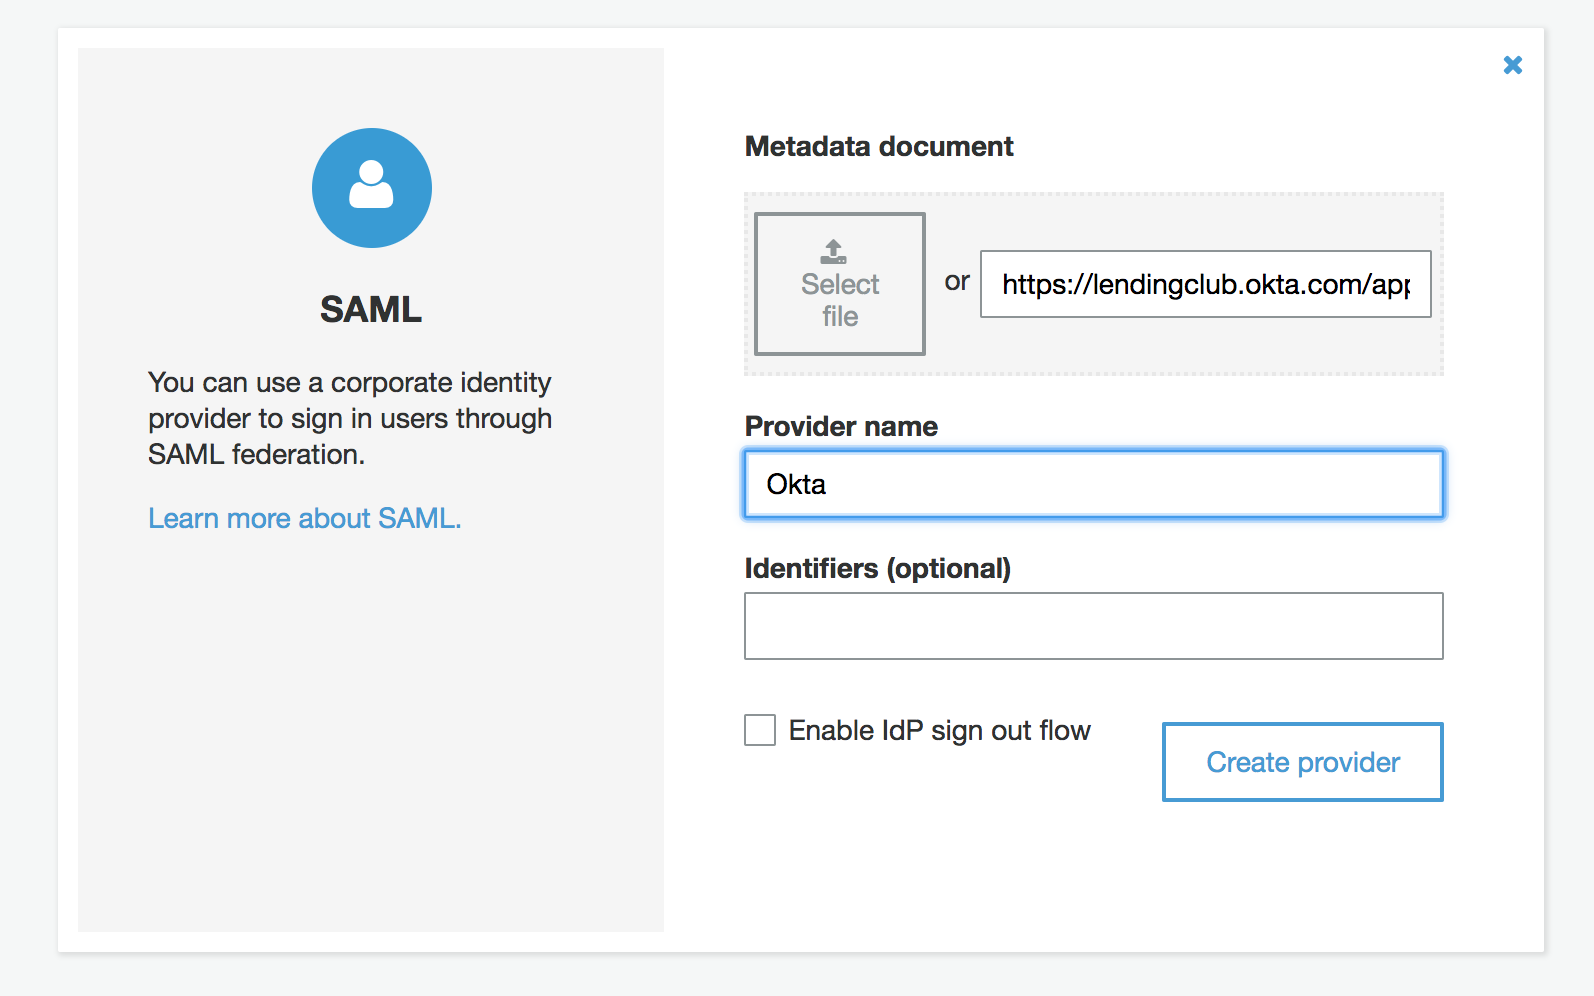
In the SAML config, give the provider name and either add the metadata document URL or upload the metadata file.
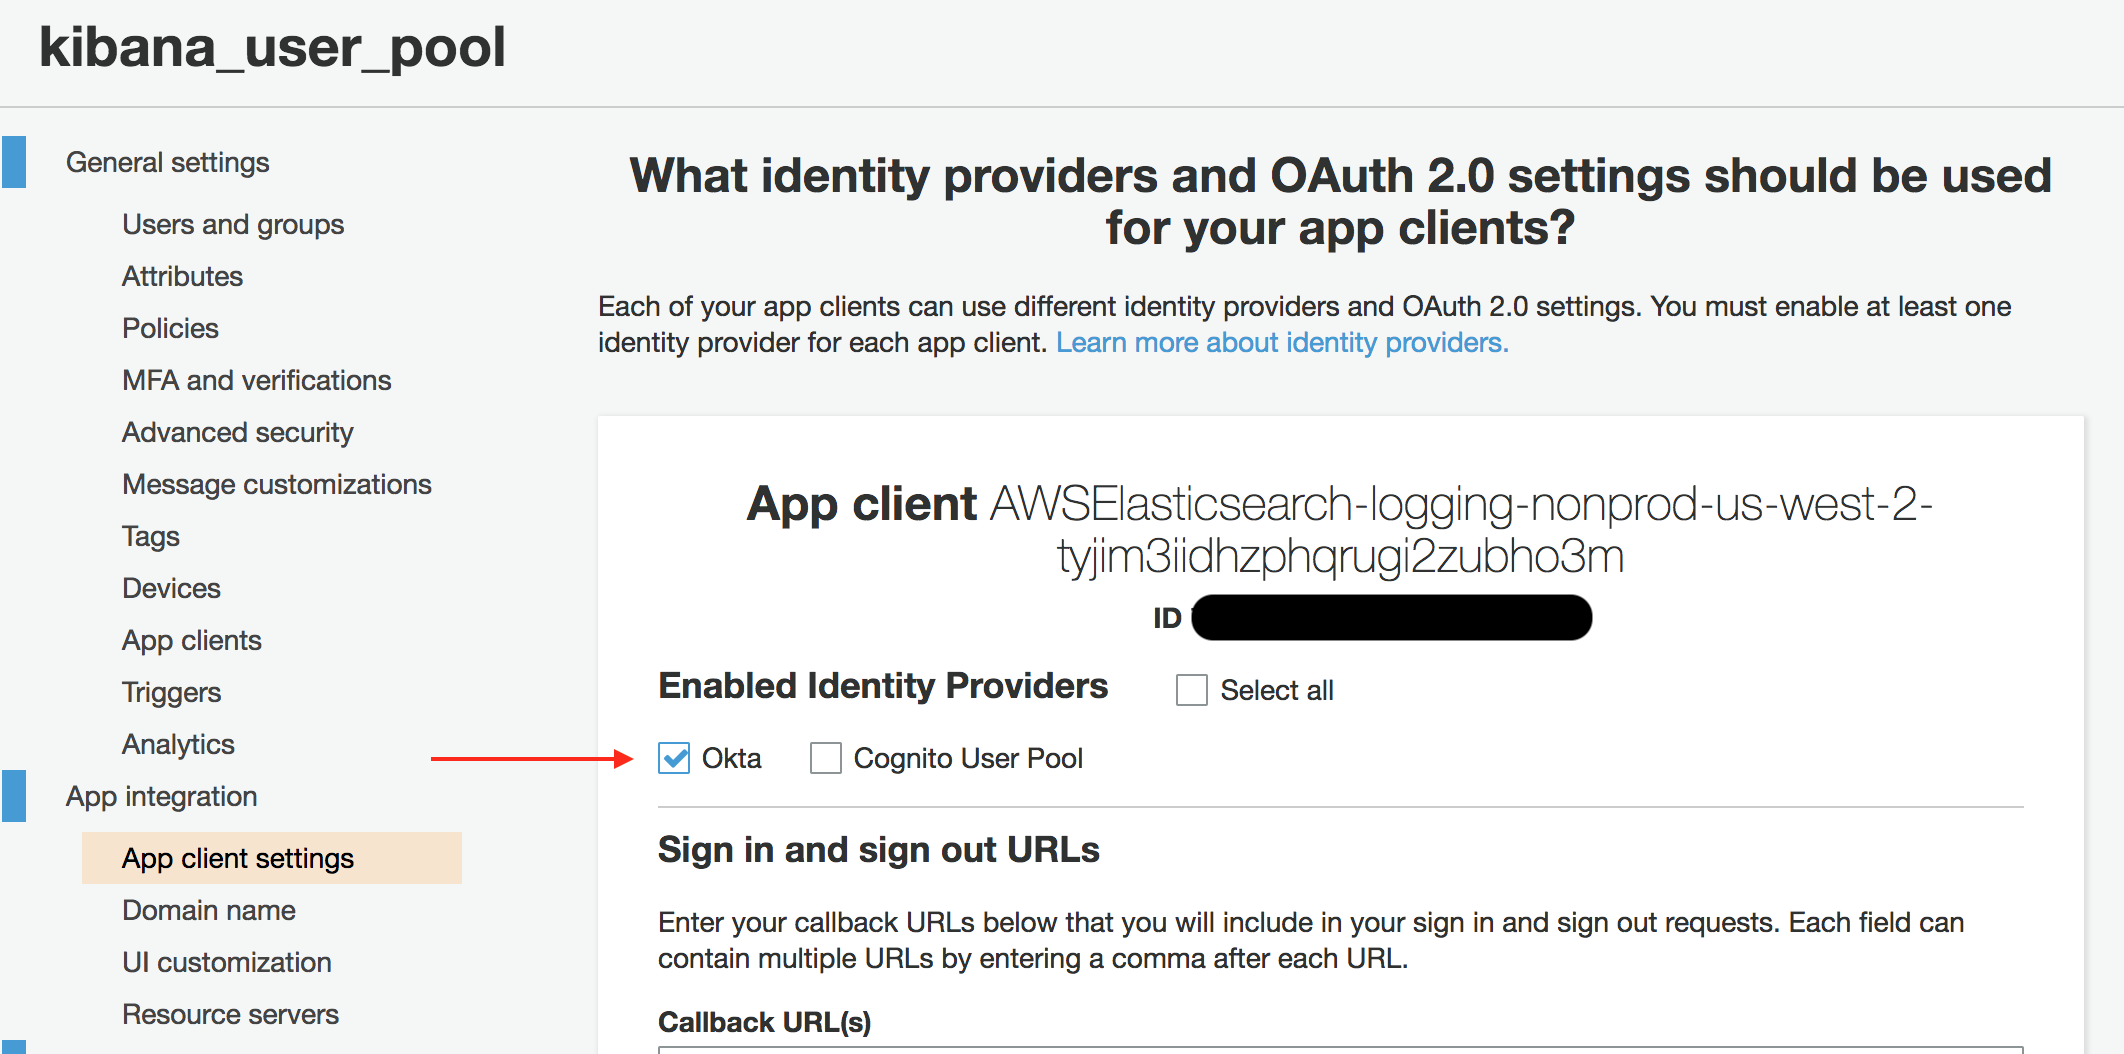
Once you’ve successfully added it, go back to the app client settings for the Elasticsearch app, uncheck the “Cognito User Pool” and check your newly added SAML Identity Provider
And we’re done!
Caveats on IdP initiated auth flows
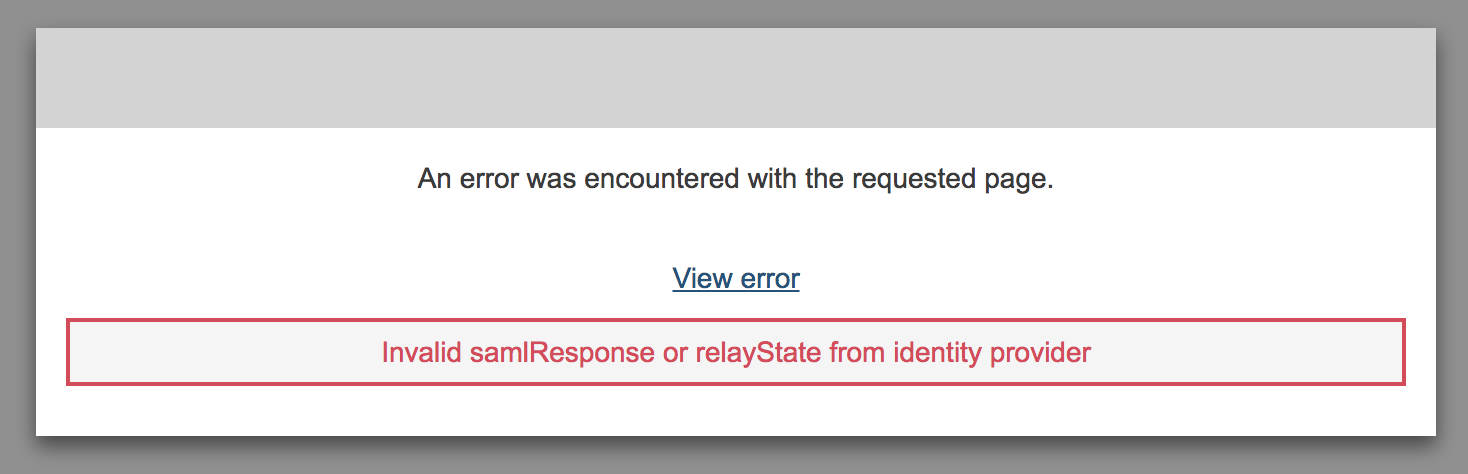
One big thing to note is that the SAML authentication in AWS Cognito only supports Service Provider (SP) initiated auth flows, not Identity Provider (IdP) initiated auth flows. Bottom line? Unlike most other SAML apps I’ve setup in Okta, I can’t put this directly on the Okta dock. Authentication has to be started by the user hitting the Kibana dashboard and getting sent to the third party SAML IdP, rather than the authentication flow starting from the SAML IdP. If you don’t, and you start an IdP initiated flow, you’ll get a generic “Invalid samlResponse or relayState from identity provider” error, which is generally unhelpful and cryptic as to the actual root cause of the issue.
Our workaround is to make sure to hide the SAML 2.0 app from user’s docks in Okta.
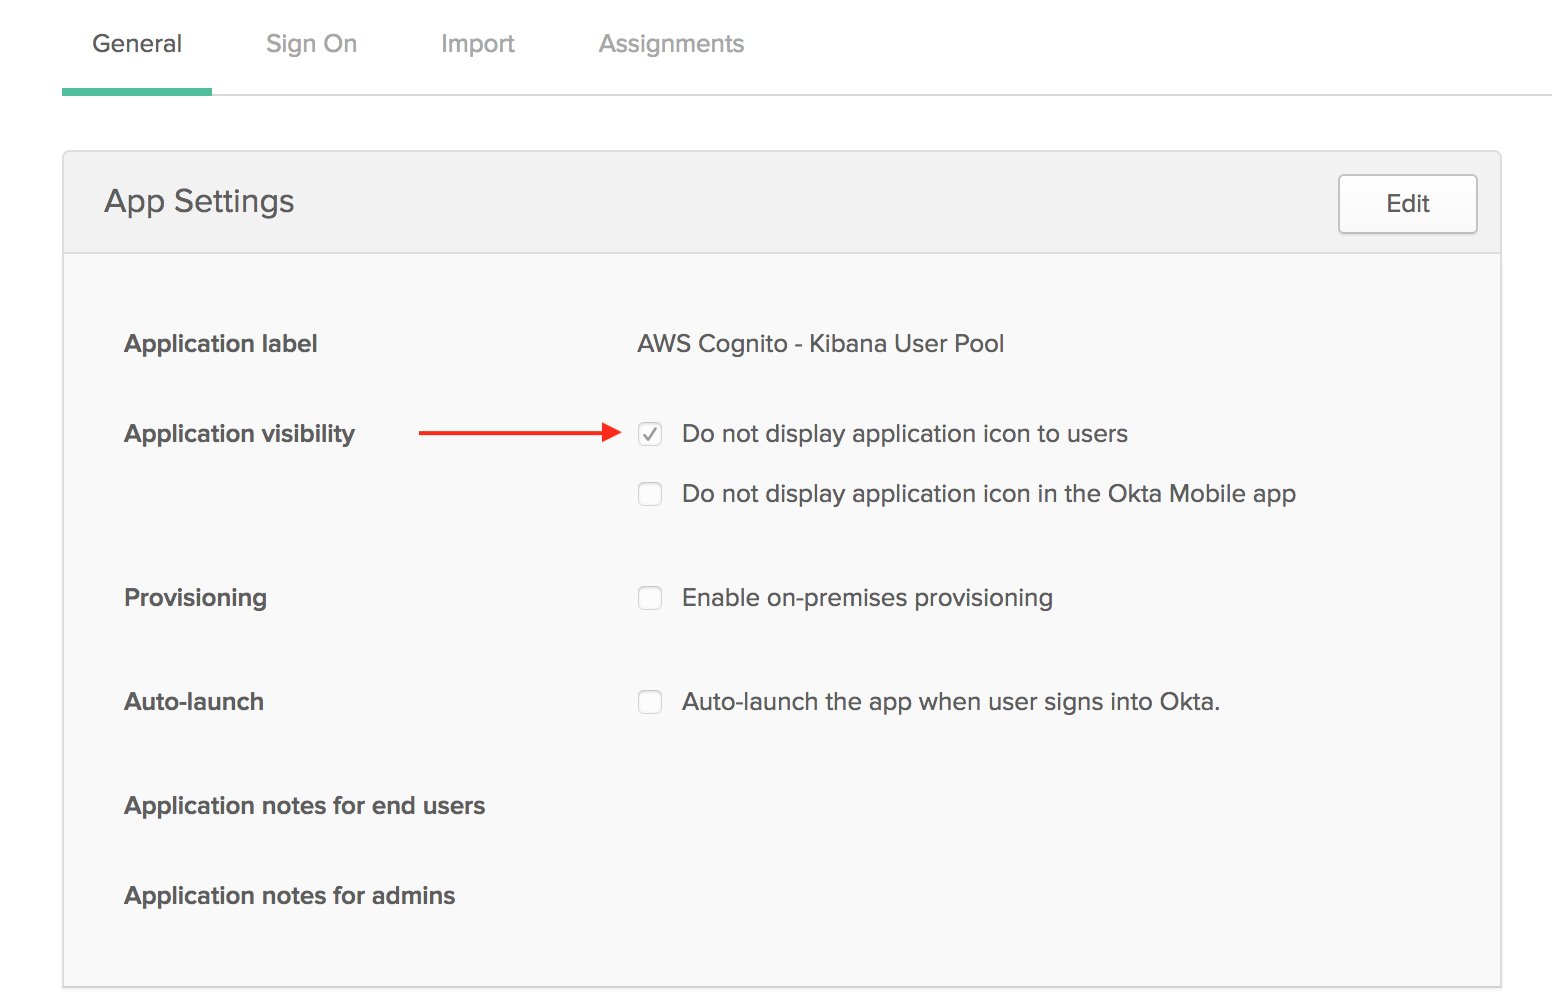
And instead insert a “bookmark” app into the Okta dock with the URL of the Kibana dashboard. To the end user it looks identical - there’s an icon with the rest of the icons and clicking it gets then where they want to go - but critically it starts the authentication process from the correct end to make AWS Cognito happy.
Giant swiss army knife photo from Slartibartfass. Used under the Creative Commons License